Jewelry product photography requires more than a high-quality camera and excellent lighting direction. It also needs advanced post-processing.
Zooming in on jewelry photos makes flaws such as dust particles, small scratches, and undesired reflections much more noticeable. These can significantly reduce the appeal of a product photo, even though they are frequently unnoticeable to the unaided eye.
Therefore, knowing how to Remove Dust and Scratches on Jewelry Photos is crucial for clean, professional results.
In this guide, we will discuss eight simple and powerful Photoshop tools that will help you bring out the best in your jewelry images and create beautiful images for your print ads, social media accounts, or online business.
As many of these features are also included in Photoshop Elements, it’s a fantastic choice for beginners seeking reasonably priced and powerful editing tools.
Note: The following article does not offer detailed tutorials; instead, it focuses on tools and techniques. You can easily find and watch video guides online for all the methods mentioned below.
Top Editing Tools for Perfect Product Photography
Photoshop offers numerous options for editing jewelry images. There are 2 primary categories for these tools:
Standard Editing Tools – These can significantly impact the overall picture, including brightness, contrast, or color balance.
Brush-Based Tools – It allows you to accurately change specific areas of the image, much like using a paintbrush.
The brush tools provide greater control and are suitable for detailed jewelry retouching techniques. Below, we will explore the most effective & useful tools.
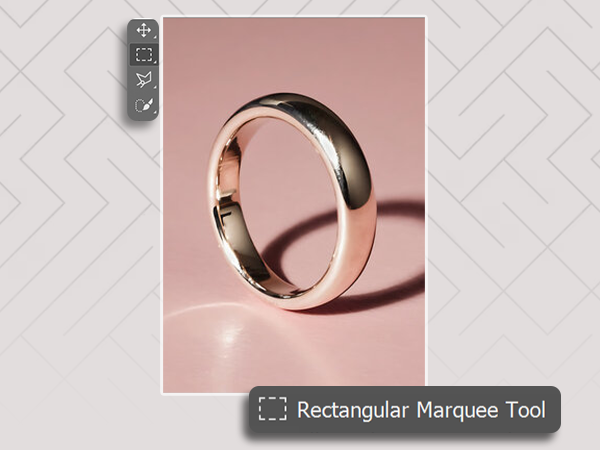
1. Remove Dust and Blemishes With The Spot Healing Brush
Best For: Removing dust, scratches on the surface, and small flaws on metal or gemstones.It is one of the most utilized tools in jewelry photo retouching. No matter whether you have a light scratch on the jewelry or a stain on a pearl, the Spot Healing Brush Tool will easily remove the defect by examining and mixing the nearby pixels.
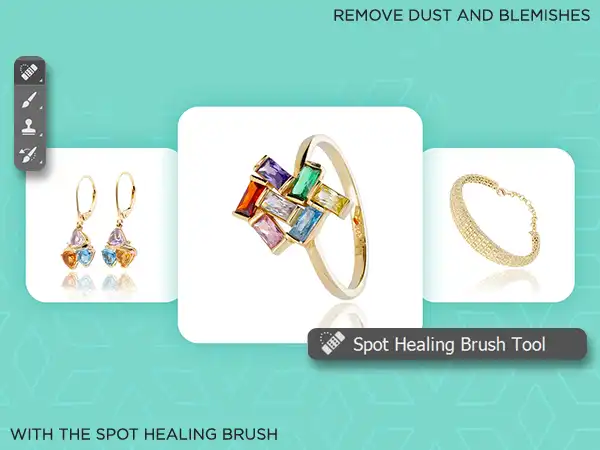
How to use instructions:
- Choose the selective tool
- Change the brush size and hardness (usually 40-50% hardness).
- Point or move the mouse across the imperfection

Pro Tip: To obtain a natural effect, use a brush with low hardness.
2. Repetition of Earrings in Achieving Visual Symmetry
Best For: Bringing consistency in photographing earring pairs
Sometimes, the lighting or position makes one earring appear better than the other. Mostly, Photographers copy the most attractive one for a matching pair rather than editing both.
How to use instructions:
- With the help of the Rectangular Marquee Tool, select one earring
- Copy and paste it (Edit > Copy, Edit > Paste)
- Be in place and align the duplicate
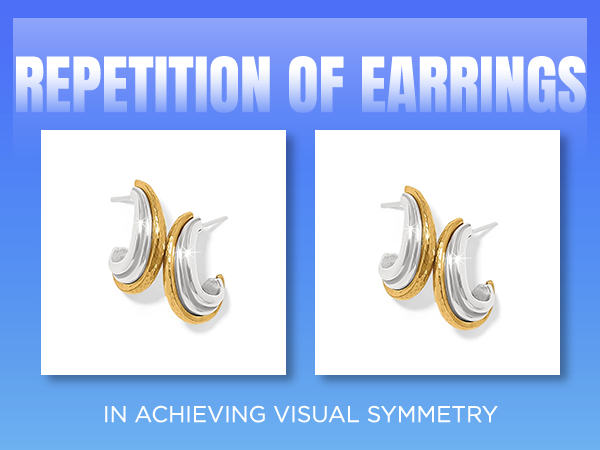
Pro Tip: Duplication is simpler and clearer when the background is removed first.
3. Use the Smudge Tool to Add a Gradient Shine
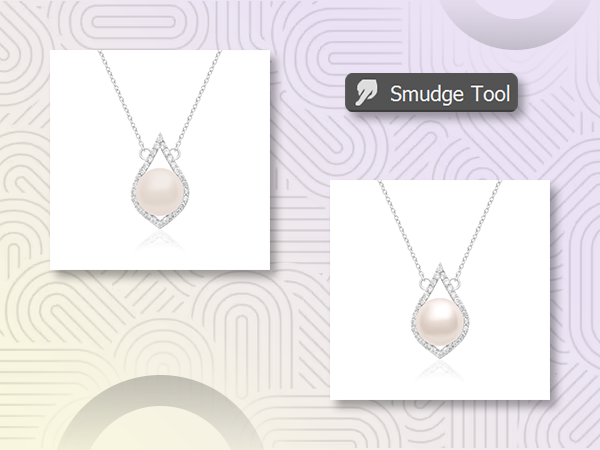
Best For: Enhancing luster on pearls or metallic surfaces.
The Smudge Tool is used to create a soft, blended effect, particularly helpful for pearls or curved metal. It helps recreate the gloss and gradients of natural light.
How to use instructions:
- Select Smudge Tool
- Choose a soft brush. Set the brush to a high value
- Drag along the highlight to spread and soften it
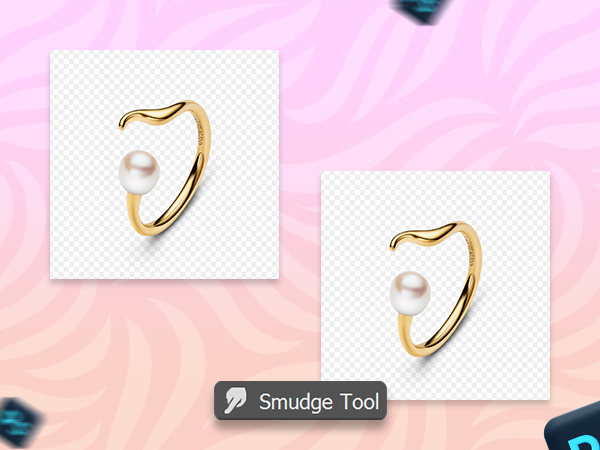
This is perfect for producing glossy images suitable for advertisements.
4. Removing Uneven Sparkles Using The Clone Stamp Tool
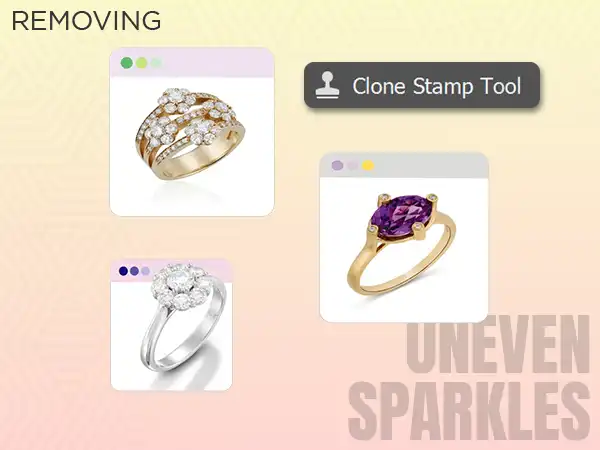
Best For: To replace dull or uneven gemstones
In jewelry images, some gems may not catch the light properly. The Clone Stamp Tool allows you to copy well-lit stones and overlay them on less attractive areas.
How to use instructions:
- Go to the Clone Stamp Tool. Select the Clone Stamp Tool
- To choose the source, Press Alt + Click
- To use the clone, click on the target area
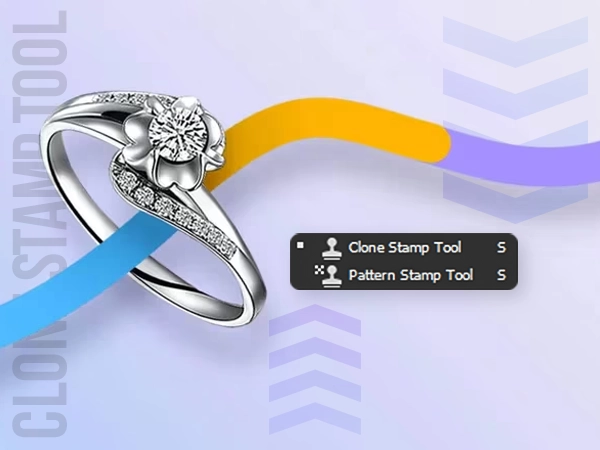
Apply carefully to achieve a natural and seamless mix.
5. Adjust Brightness and Contrast to Make Colors Pop
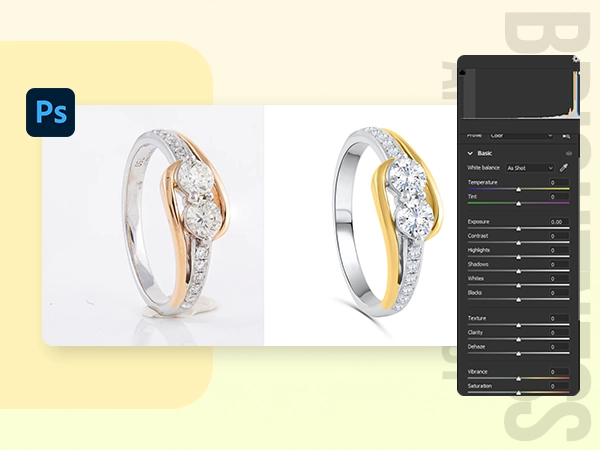
Best For: Improve overall image quality and visibility
Increased brightness raises the level of exposure, whereas increased contrast heightens the level of color separation and depth. Jewel textures and details are made visible with proper adjustments.
How to use instructions:
- Click on the Image, and a drop-down menu will appear. Click on Adjustment, and then
- Move sliders and see results live
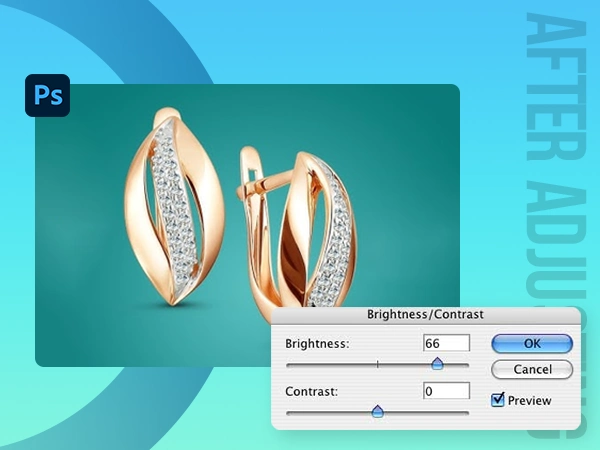
Best practice: To enhance colors and prevent overexposure to brightness, apply a reasonable amount of contrast.
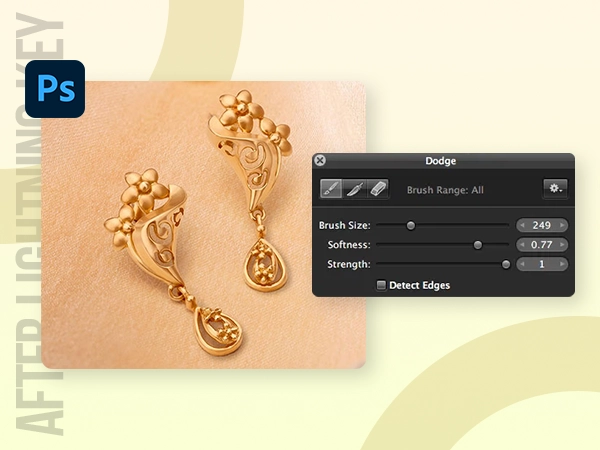
6. Lighten Key Areas Using the Dodge Tool

Best For: highlighting particular elements, such as metal reflections or gemstone facets
The Dodge Tool highlights specific areas, making elements such as diamonds or metal engravings stand out without changing the whole image.
How to use instructions:
- Select the Dodge Tool
- Take a soft brush that is not hard
- Softly brush against some parts to point out
- Wield sparingly so that it is not too unreal
7. Darken Elements With The Burn Tool
Best For: Adding dimension and depth to complex jewelry designs.
The Burn Tool is the opposite of the Dodge Tool. Because it assists in making specific areas darker to boost contrast and depth. This process is ideal for emphasizing edges or engravings.
How to use instructions:
- Click Burn Tool
- Resize the brush size
- Brush over areas that require additional attention or shading.
For optimal effects, combine Dodge and Burn to shape the highlights and shadows of your jewelry.
8. Modify Colors with Hue/Saturation
Best For: Altering the tones of a gemstone or metals without reshooting
Want to display the same piece of jewelry in several gemstone colors? It can be done within seconds using the Hue/Saturation tool in Photoshop.
How to use instructions:
- Go to the menu Image > Adjustments > Hue/Saturation
- Select the color range (e.g., Blues)
- Slide the Hue, Saturation, and lightness controls
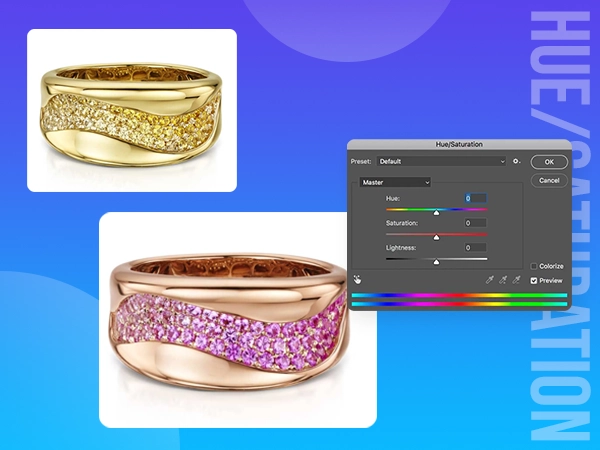
It is perfect for product variation testing of your eCommerce listing or catalogs.
Final Thoughts
Any jewelry product photographer or retoucher can start with these eight effective Photoshop techniques. Whether to remove imperfections or add brightness and create product variations, the ultimate goal to achieve is to upgrade your images through these tools.
Looking for a dedicated Jewelry Photo Editing Software? Or just need expert help? Visuals Clipping is the best photo editing company that offers professional photo retouching on your jewelry photos.
FAQs
Can jewelry be retouched using Photoshop Elements?
Yes, the above-mentioned tools are present in Photoshop Elements, which is a cheap alternative when it comes to simple editing.
How can I make the diamonds shinier in Photoshop?
Apply on high places of the diamond with the Dodge Tool, remove dull stones with the Clone Stamp, and substitute them with brighter stones.
Do the techniques apply to gold or silver jewelry?
All metals and pearls, using correct lighting and brush control, are great in these processes.