Navigating through features in Adobe Photoshop is somewhat peculiar, as you have multiple methods to execute one task. For novice editors, even the basic task of cropping and resizing may turn out to be arduous in the first few minutes.
With the current version of Photoshop, some of the tasks have been simplified while others have gotten more complex, and one such process that has become more intricate is background removal. As of 2025, we no longer have one particular method to execute this edit, and honestly, there is no such thing as a best possible method.
Whether you’re editing a single image or running an image background removal service business, mastering several ways in Photoshop provides you the freedom to tackle different editing scenarios with precision.
Let’s jump into the effective methods to remove backgrounds in Photoshop with a step-by-step guide.
Removing Background in Adobe Photoshop With Generative Fill
With the integration of the AI-powered tool, the editing has become a lot easier, giving more confidence to intermediate users to execute advanced edits. You can remove the background with this generative fill option in just a few easy steps.
- First, import the image on Photoshop by navigating to File >> Open.

- Use any preferred selection tool to select the subject you want to keep, and then select the Generative Fill.
- You can enter the prompt if you want to customize the background or just simply click Generate in order to remove the background.
- Photoshop will intelligently remove the background while filling in the area with realistic surrounding content. This works especially well for cluttered backgrounds or scenes where manual cutting might be tricky.
This is the easiest method to remove a background in Adobe Photoshop, earlier editors used the Quick Action method but lacked precision. You can try this as well, but first you need to convert your image into a layer by going to Window >> Layer and clicking on Layer.
In the Properties Panel, scroll down to the Quick Actions section and click on Remove Background. Now let’s discuss another method to remove background in Photoshop.
Magnetic Lasso to Remove Background
Another classic method known as Magnetic Lasso is great to work with sharp edges. Here are the complete steps:
- First, right-click on the background and select Duplicate Layer. On the left toolbar, click and hold the Lasso Tool to reveal more options, and click on the magnetic icon
.
- Click once on the edge of your subject to begin tracing; once the selection is over, you will see the object is highlighted.
- Go to Select >> Inverse and click Delete to remove the background.
Background Eraser Tool in Photoshop
As the name suggests, the Background Eraser Tool lets you manually remove the background, letting you have entire control over the subject, but it takes a lot of effort.
Here’s how to access the Background Eraser tool:
- Right-click on the image layer in the Layers panel and select Duplicate Layer to preserve the original.
- On the left toolbar, click on the eraser icon and select the Background Eraser Tool.
- Adjust the size and softness and start erasing the area you want to remove.
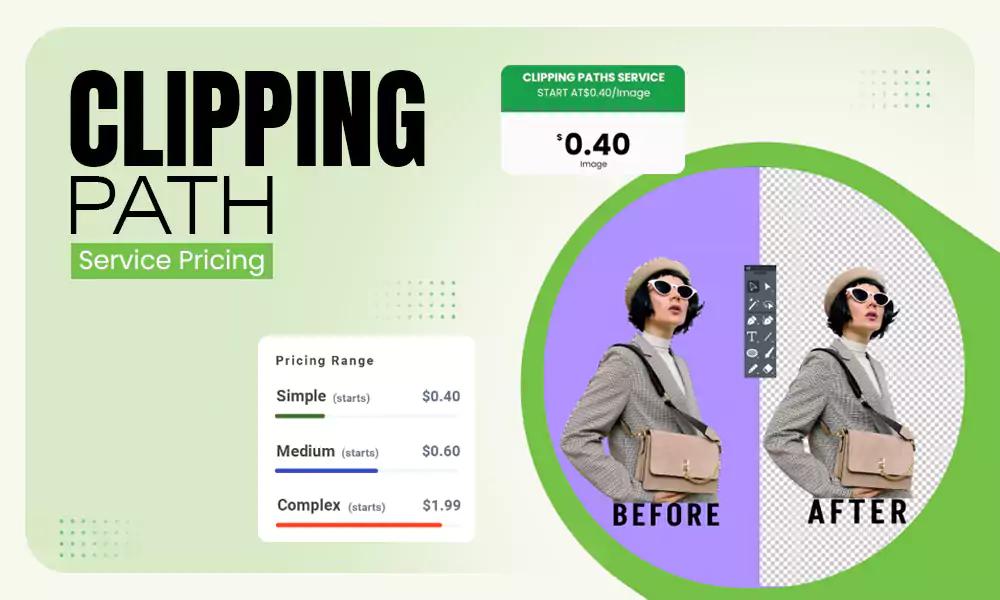
So these were some of the most used methods through which you can remove the background in Photoshop. However, manually executing these processes eschews the quality and precision, which is not ideal for commercial usage.
Manually removing the background from the bulk of photographs may lead to inconsistency, and during such scenarios, it is recommended to outsource such tasks. Visuals Clipping is one of the prominent and renowned image retouching agencies with tons of editing solutions.
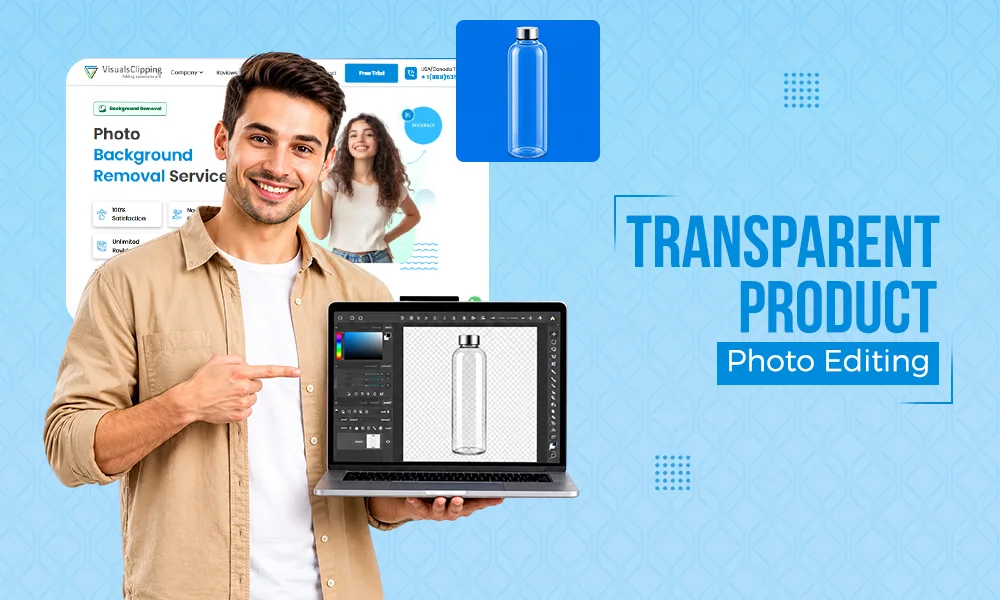
Remove Backgrounds Faster and Professionally With Visuals Clipping
Visuals Clipping provides expert solutions, whether you want to remove the background from product photography or make it look more aesthetic by adding elements. We can easily execute and simplify the tasks that take hours into minutes, whether they’re in bulk or individual.
Our precision and quality of service make us the perfect partner for e-commerce listings, catalogs, and promotional content. Whether it is working on complex edges like fuzzy hair or landscapes, with ease of mind you can rely on us to get the flawless results with pixel-perfect accuracy.
Conclusion
Adobe Photoshop is surely a perfect companion to execute your basic editing requirements and even take one step forward to get the professional touch. However, to achieve each result, you need consistent practice and the correct knowledge.
The best thing as an enterprise or business organization you can do is avail yourself of the professional service from the agency like Visuals Clipping and get the far better result from your desired expectancy. So what are you waiting for? Contact us now by simply filling in the basic details, and our executive will get in touch with you.
FAQs
How does the Background Eraser tool work in Photoshop to remove the background?
First, select the Background Eraser from the toolbar and simply wipe off the area that you don’t want in the image. It will create the PNG effect on the image.
Why opt for Visuals Clipping’s background removal service?
First, Visuals Clipping provides professional service and completes the project within a short time. Moreover, for product photographs, you can get additional retouches to make them look more refined.
Can I replace the background of my choice?
Yes, you can replace the existing background with your preferred choice, either by using the generative fill option or by adding a new layer.
How does the Photoshop Remove Quick Action work?
The Quick Action automatically detects the main subject and creates a layer, deleting all the leftover background layer.