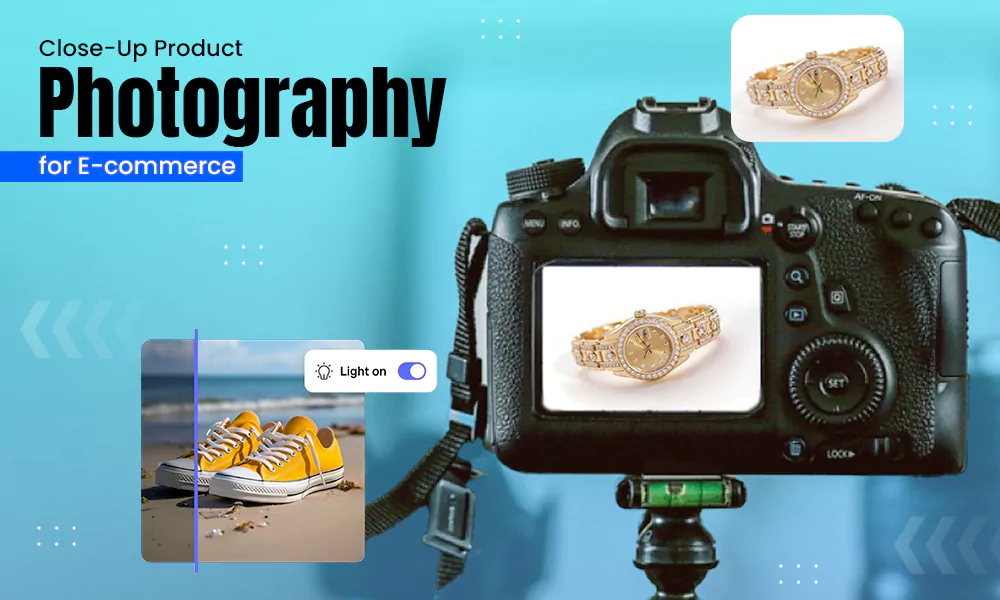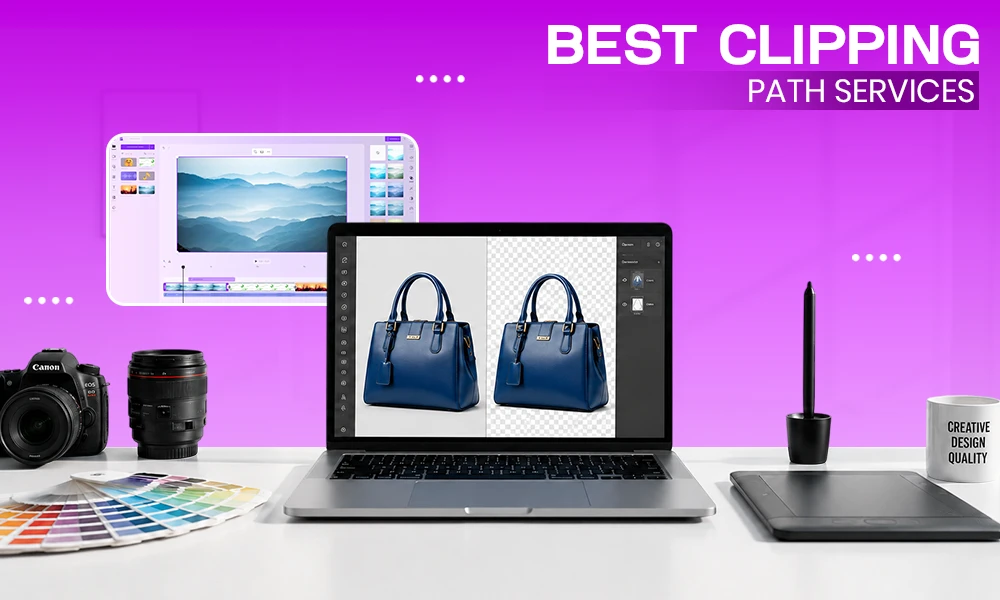
E-commerce companies are increasingly using 360-degree product photography to provide customers with an immersive and detailed shopping experience, often supported by professional Ecommerce photo editing services to ensure visuals look polished and consistent.
By allowing consumers to view products from multiple angles, rather than being limited to a single static image, this technology helps consumers trust your products more, as they can feel more comfortable with what they see.
As the number of direct competitors selling similar products continues to grow online, enhancing the presentation of your products through the use of innovative techniques (e.g., video) and enhanced interactivity will help increase conversion rates and reduce your returns.
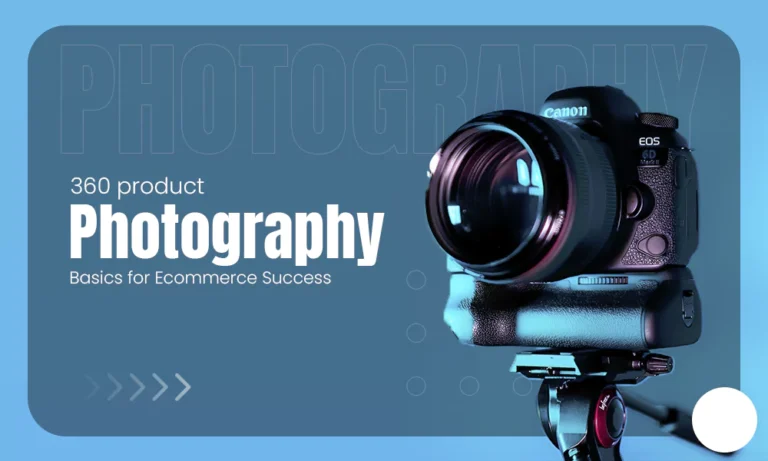
This guide will introduce you to the techniques, equipment, and best practices for creating high-quality 360-degree photographs of your products. The goal of this guide is to improve your product listings and elevate the overall presentation of your brand.
Also Read: How to Click the Best 360° Product Photography
Understanding the Power of 360° Product Imaging
Today’s digital marketplace has been transformed by the use of 360° product photography, allowing customers to interact with products in a similar way as if they were shopping in a store.
Rather than relying on a single image, shoppers can rotate the product, view detailed views of the product and get a more accurate understanding of the dimensions, textures and overall quality of the product.
This additional interactive experience has a significant impact on increasing trust and reducing uncertainty, which leads to more conversions and fewer returns of merchandise.
Also Read: How to Photograph White Products on a White Background for an Online Store?
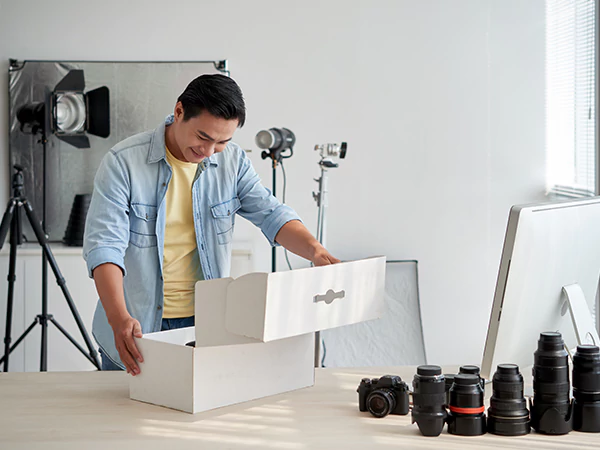
Essential Equipment Required for 360° Product Photography
Most of the tools needed for regular product photography are also used in 360° product photography, along with a few extra ones. These tools help you take consistent, high-quality pictures that make product views smooth and interactive.
DSLR or Mirrorless Camera
A DSLR or mirrorless camera is ideal for capturing sharp and detailed product images. Many photographers prefer mid-range resolution cameras to balance image quality and website loading speed. A camera with 20–30 megapixels works best and should be compatible with 360° turntable software.
Zoom Lens for Flexible Framing
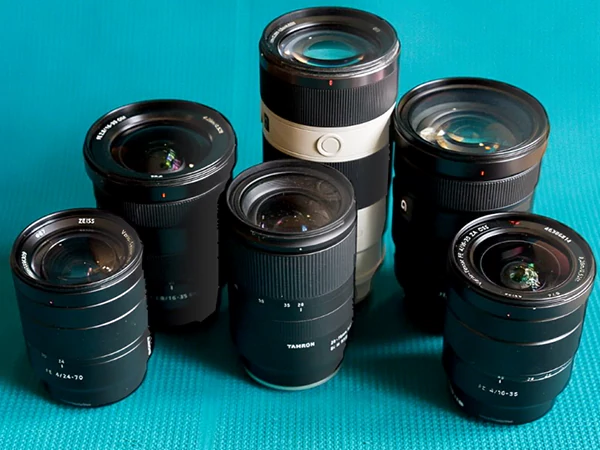
There are a lot of different sizes of products, from small accessories to big things. Photographers can easily change the focal length of a zoom lens without moving. A zoom lens that can go from 40 to 100 mm is great for framing shots and getting the same results with different product sizes.
Stable Tripod for Consistency
A strong tripod is necessary to keep the camera angles the same throughout the shoot. It stops the camera from shaking, makes sure the images are all lined up the same way, and gives you professional-quality results for 360° product rotations.
Remote Shutter Control
Using a remote control or wireless shutter release stops the camera from moving while you shoot. This makes the images sharper and the 360° transitions smoother, which makes the whole experience better.
Also Read: Best Photograph Studio Setup Idea
Preparing Your Product for a Flawless 360° Shoot
A good prep for product photography sets the foundation for how professional the end product looks. Each product should be completely cleaned, dusted and checked for fingerprints, smudges or packaging marks before it is placed on the turntable for shooting.
Once a product is in a rotating 360° format, even the smallest of flaws will stand out. If your product is clothing, you should steam or iron it so there are no wrinkles. If it is jewellery, make sure it is polished; otherwise, you will get distracting bright spots or dull reflections in the final photograph.
Be certain that all labels are straight and that all parts of the product are positioned correctly, and if there are several colour options, be sure to group those and shoot them separately. A properly prepped product will save time during editing and produce a uniform look throughout your entire catalogue.
Lighting Techniques for Professional 360° Results
Lighting is one of the most important aspects of creating a 360° product photo, as a product will need to appear evenly illuminated while spinning through its rotations. To achieve this level of consistency, soft, diffused lighting should be used to create minimal shadows or glare and prevent bright spots (overexposures) from being visible.
A multi-light arrangement that has been installed symmetrically around the product will provide balance to the photo. A light tent or light diffusers can be especially useful when photographing reflective or smooth surfaces to help eliminate excess glare (harsh reflections) and create even soft light.
When adjusting lights to create the best lighting environment, it is important not only to use the correct angle and distance but also to use the correct intensity and type of light.
Capturing Consistent Frames for Smooth Rotation
In order to create a constantly rotating product that is visually effective, you will often have anywhere from 24-72 evenly spaced frames, depending on how detailed or interactive you want the final product to be.
Utilising a motorised turntable is essential for maintaining this consistency; each frame is captured at a specific angle, ensuring that the previous frame has not been changed while capturing the next frame.
Setting your camera to manual mode and fixing your ISO, aperture, and shutter speed means that there is no variation in those settings between all of the frames that were captured, therefore preserving that consistent lighting for the entire rotation.
Locking autofocus after taking the first shot will keep the focus consistent throughout the entire sequence of images. Consistency is very important.
Editing and Retouching Your 360° Image Sequence
After images are taken, they must go through an editing phase to fix any mistakes made during the photography session. In addition to fixing the exposure, color balance, and other technical errors created during the session, you must also work to make sure that there are no inconsistencies or discrepancies across all frames.
If you’re using a batch editing tool like Adobe Lightroom, you can quickly and easily apply the same types of corrections to each image in your batch.
Certain retouching tasks may need to be completed on specific products (e.g., removing dust or reducing glare/reflections), especially for products made of reflective materials (e.g., metal/glass). If your brand has a specific visual style throughout its branding, you should also create a uniform background for all images.
Creating the 360° Rotation Using Specialized Software
Once the video has been edited, it can now be imported into the 360-degree product viewer software to be stitched together into a single interactive rotate product.
A lot of the software will allow you to adjust the speed at which your product rotates, add zoom capabilities, enable auto play as well as optimizing how quickly your product will load on a website.
The ultimate goal of the software is to create a user-friendly environment that will load and interact with the user as fast as possible. Some applications may allow for “hot spots” which are clickable points on a product that show additional information or highlight certain features about the product.
Optimizing 360° Product Images for Ecommerce Platforms
In order to allow for fast loading of 360-degree product images without losing any quality, they must be optimized by reducing the file size through various compression methods, while still providing a high enough resolution that the images can be clearly viewed.
Many e-commerce sites will specify what image formats, dimensions, and viewer compatibility requirements to follow to avoid any display issues. Additionally, making sure your 360-degree viewer is mobile-friendly is important because a significant number of consumers browse using mobile devices such as tablets and smartphones.
If your 360-degree product images load very quickly and are responsive to user devices, then they’ll keep customers engaged with your listings and reduce bounce rate or drop out of your listing.
Benefits of 360° Product Photography for Online Retailers
The use of 360-degree photography for eCommerce retailers has many advantages. A consumer’s ability to visualise and understand an eCommerce retailer’s product through a 360-degree demonstration allows consumers to clarify uncertainties about a product before purchasing it.
1. Enhanced Shopping Experience With Detailed Product Views
360° product photography is different from static product images because it lets you shop interactively, just like you would in a store. Customers can zoom in to check the quality, rotate products to see them from all sides, and click and drag to see more details. This interactive viewing helps customers learn more about the product and make better choices about what to buy.
2. Reduced Product Return Rates
Many people return things they buy online because they don’t meet their expectations. Customers can see the whole item from all angles with 360° product photography before they buy it. This openness builds trust, cuts down on misunderstandings, and cuts down on product returns by a large amount.
3. Stand Out in a Competitive Ecommerce Market
In a crowded online shopping market, it’s important to stand out. 360° product photography is a great way to get people to notice your brand and set it apart from the competition. Customers like it better when they can see products from different angles because it builds trust, boosts credibility, and makes the shopping experience more memorable.
4. Higher Conversion Rates and Buyer Engagement
360° product photography makes customers more interested in your products by making them spend more time on product pages. As customers look more closely at products, they become more sure of themselves, which leads to more sales. Interactive graphics can help turn visitors who are interested into happy customers.
Challenges and How to Overcome Them
While there are a lot of advantages to using 360-degree product photography, there are also some obstacles to overcome. For example, reflective or shiny items often cause excessive glare while shooting.
Similarly, objects with very irregular shapes may present challenges when it comes to providing adequate light for those areas of the object not directly in front of the camera.
Additionally, items that are large in size, like furniture, require large turntables or pedestals and a much larger shoot space, which can add up quickly when calculating the overall cost of the project.
And lastly, there is clearly going to be a time commitment associated with preparing, shooting, and post-processing all angles of your subject compared to traditional product photography processes.
Fortunately, developing a repeatable system, utilising good-quality gear, learning to use advanced lighting setups, and implementing automation will assist in mitigating these types of issues.
Why 360° Product Photography Matters More Than Ever
With online shopping, evolving expectations are changing as well to accommodate customers’ requests for richer, interactive experiences with the products they purchase online.
New technologies such as virtual showrooms, AR try-ons, and 3D product visualisation have been driving this change toward an increasingly immersive experience for customers while shopping online.
360° product photography has become one of the core building blocks of the internet and can be used to create trust and connect the physical shopping experience to the digital shopping experience.
360° product photography can deliver reliable, real-time views of products, increasing customer satisfaction levels and improving the overall purchase experience for brands using this form of imagery.