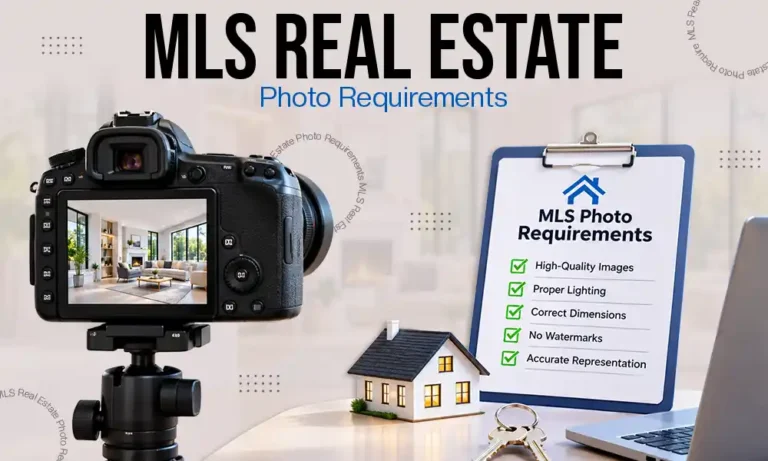
Real estate photographs are important for attracting prospective buyers and for ensuring that a property listing stands out. But before uploading the photos, agents should make sure that they know the MLS photo requirements that apply to their local listing service, since these rules usually include specifications regarding image size, resolution, file format, the number of photos allowed, and real estate photo editing practices.
Why MLS Photo Requirements Matter
High-quality pictures of a property enable buyers to get a better understanding of the home’s layout, exterior appearance, and main features. Adhering to the MLS photo guidelines also helps agents to prevent upload errors, delays in listing, and compliance problems. Images that are properly prepared result in a more professional appearance and give buyers a clearer idea of the property.
Also Read: Real Estate Photo Editing Guide
MLS Photo Size, Resolution, and Upload Requirements
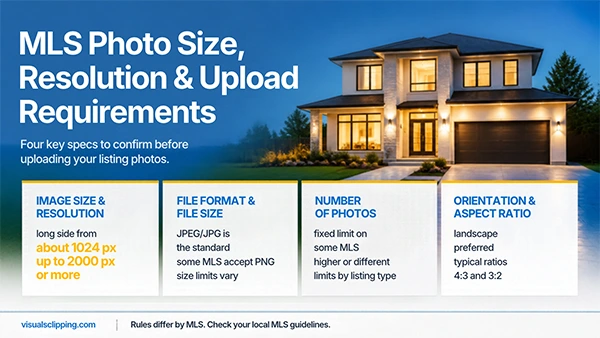
Image Size and Resolution
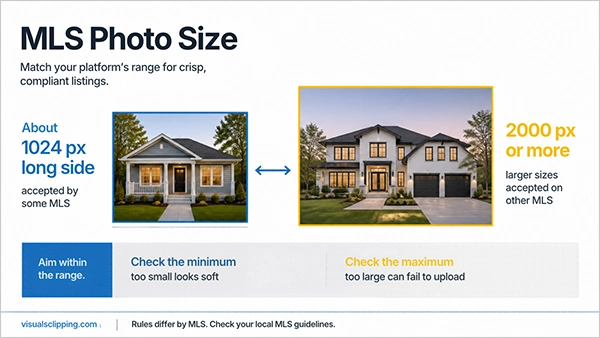
The photo size requirements for MLS differ from platform to platform. Although some systems will accept pictures with the longer side measuring about 1024 pixels, others can handle larger images consisting of 2000 pixels or more. The right MLS photo resolution will depend on the platform’s minimum and maximum specifications.
File Format and File Size
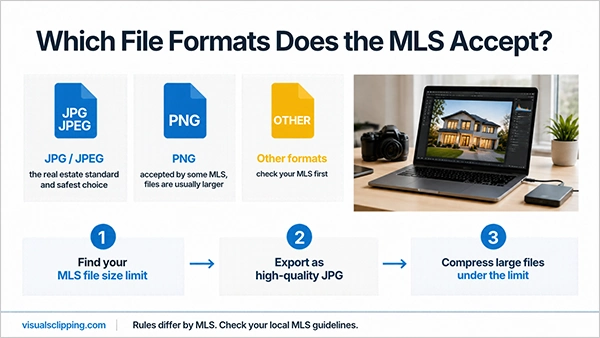
JPEG or JPG is the standard format for photos used in the real estate sector. While some MLS platforms also accept PNG or other formats, the file size limits vary, so it is important to check the upload guidelines before sending large images.
Number of Photos Allowed
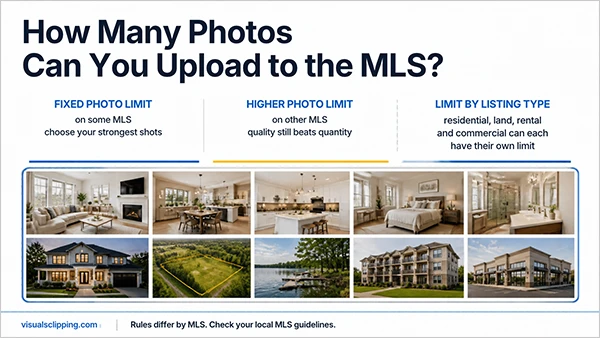
The number of images that can be included in a listing differs a great deal; some MLS systems set a fixed limit, whereas others offer a greater number or different limits according to the type of listing.
Photo Orientation and Aspect Ratio
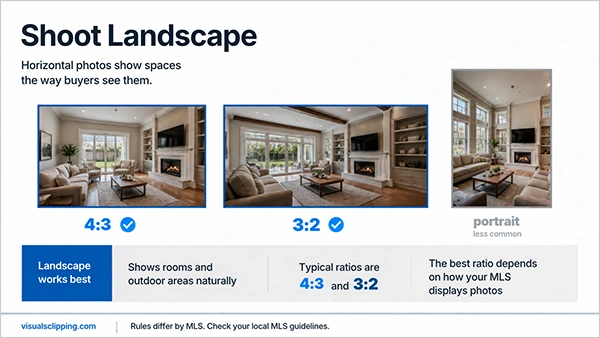
Landscape pictures are usually preferred since they show both rooms and outdoor areas more naturally; typical aspect ratios are 4:3 and 3:2, though the best option will vary according to the MLS platform and its display requirements.
Best Photo Order for Real Estate Listings
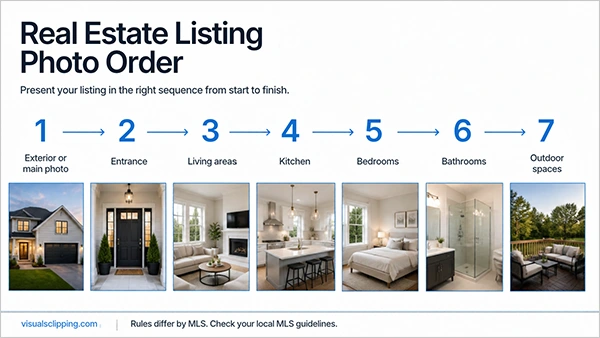
Begin with either the exterior of the property or another appropriate primary listing image, according to the local MLS rules. Then proceed to the entrance, the living areas, the kitchen, the bedrooms, the bathrooms, and the outdoor spaces in a logical order.
MLS Photo Editing Rules: Allowed vs. Restricted Edits
| Generally acceptable | Risky or potentially prohibited |
| Exposure and brightness correction | Removing permanent property features |
| Natural color correction | Replacing the sky without checking MLS rules |
| Straightening vertical lines | Virtual staging without required disclosure |
| Cropping within platform rules | Adding misleading objects or features |
| Correcting minor lens distortion | Editing that misrepresents the property |
Also Read: Real Estate Sky Replacement Guide
Virtual Staging and AI-Edited Photos: Disclosure Rules
Even though virtual staging and AI-assisted editing can enhance the way a property is presented, it is important not to mislead buyers. When furniture or other features have been added digitally, the agents should adhere to their MLS disclosure requirements as well as the relevant advertising rules. Digitally created features must never be shown as if they are actual features of the property.
Pre-upload MLS Compliance Checklist
- Check the local MLS photo guidelines.
- Check the image dimensions and resolution.
- Check that the allowed file format and the file size limit are correct.
- Review all images for exposure, clarity, and composition before exporting.
- Put the images in a logical sequence.
- Make sure that the edits and disclosures comply with MLS rules.
- Take out the watermarks if the platform forbids them.
How to Prepare MLS-Compliant Photos With Your Photographer
Before the photography session or during the editing process, pass on to your photographer the MLS photo requirements. Indicate your preferred image dimensions, file format, the maximum file size allowed, and any editing restrictions. This will help to cut down on the number of revisions and make sure that the final images are ready for upload.
Real Estate Photo Editing for MLS Listings by Visuals Clipping
Visuals Clipping can help prepare real estate images according to the specifications provided for a project. Available editing services include exposure and color correction, perspective correction, clutter removal, sky replacement, twilight effects, and virtual staging. Agents can specify their required image size and format when placing an order and communicate listing deadlines in advance. Standard turnaround is 12-24 hours for most real estate editing orders with 3-6 hour rush delivery options available. Visuals Clipping applies only the edits you specify, in line with your local MLS guidelines. Start your free trial now.
Also Read: Getting Started with Visuals Clipping: A Step-by-Step Walkthrough
Frequently Asked Questions (FAQs)
Q1. What size should MLS photos be?
Ans: The size you need will depend on the MLS you are using; some systems accept images that are about 1024 pixels on the long side, whereas others allow larger sizes. You should always check the current requirements.
Q2. How many photos can I upload?
Ans: The number of photos allowed depends on the MLS and the type of listing. Make sure to check the rules on your local platform.
Q3. Can I add a watermark?
Ans: It is the case that some MLS platforms either restrict or ban the use of watermarks, so you should check the local policies before doing so.
Q4. Can I use virtual staging?
Ans: Virtual staging may be permitted when the MLS rules allow it and any required disclosures are provided.
Q5. What happens if photos violate MLS rules?
Ans: Images can be rejected, taken down, or flagged for correction, and repeated or serious violations may result in further compliance action.