When shoppers buy functional apparel online, they cannot stretch the fabric, test a pocket, inspect a seam, or see how the garment moves. Product photography has to bridge that gap. In fact, Baymard’s ecommerce usability research found that 56% of users’ first actions on a product page were to explore product images, highlighting how heavily shoppers rely on visuals when evaluating products.
For sports, outdoor work, and tactical apparel, attractive photos alone are not enough. The best product images demonstrate fit, movement, material, construction, storage, and other practical features while keeping the product representation accurate. Here are 10 product photography tips to make functional apparel easier to understand and more convincing to potential buyers.
1. Build a Consistent Studio Setup
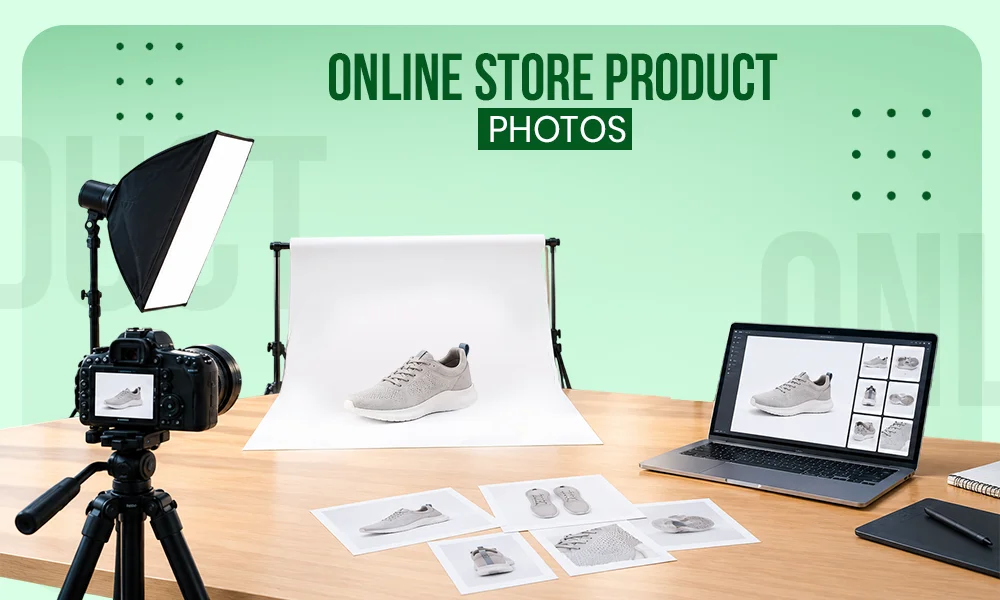
Employ an easy and simple camera and lighting setup.
Use soft, directional lighting that reveals fabric texture without creating deep shadows. Large diffused light sources work well because they provide even coverage while preserving enough contrast to show seams, folds, and material structure.
Keep camera height, focal length, backdrop, exposure, and white balance consistent across products. This makes catalog pages look cleaner and makes it easier for customers to compare different garments.
Standardize the Core Images
A consistent setup corresponds with a standardized shooting workflow. For each product, capture:
- Full front view
- Full rear view
- Side profile
- Three-quarter angle
- Fabric close-up
- Major construction details
- Branding and decoration
- Functional features
A defined shot list also reduces the chance of having to reshoot products later. Actually, it’s better to decide on photo formats beforehand, as platforms like Etsy change their product image requirements periodically.
2. Photograph Athletic Apparel in Motion
Sports apparel should be photographed in both states:
- While being stationary
- During realistic movement
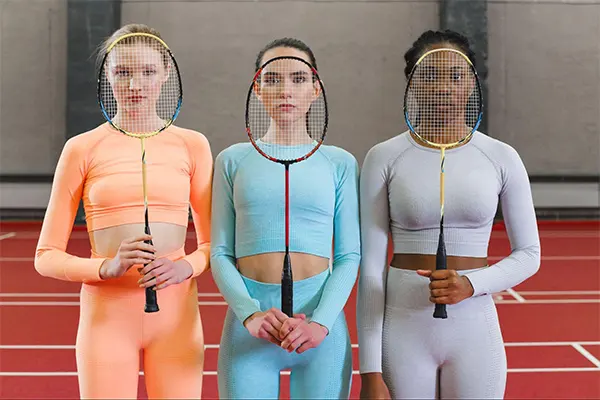
Let’s take cheerleading uniforms. Here, the static images can show the overall design, while movement shots can help demonstrate how the garment behaves during jumps, arm extensions, turns, and other athletic positions.
Use a shutter speed fast enough to prevent unintended motion blur. If movement itself is important to the campaign, capture a separate creative image with controlled blur. Don’t let technical product photographs become soft.
Make sure uniforms remain correctly fitted during movement. Bunching, twisted seams, and incorrectly positioned skirts can make the construction look worse than it is.
3. Show Fit From More Than One Angle
Front photos are common in product marketing, and customers do get an idea about the fit. Still, they don’t get a complete understanding of it.
Customers need to understand shoulder width, sleeve length, waist placement, rise, inseam, and how much volume the garment has through the body.
Photograph models from the front, side, and rear using a neutral stance. Keep the lens approximately level with the middle of the garment to reduce perspective distortion.
Avoid extremely wide-angle lenses. They can exaggerate body proportions and make sleeves, pant legs, and hems appear different from their actual shape.
4. Capture Fabric Texture Accurately
The material of the clothing plays an important part in functional apparel, as it largely determines the cloth’s functionality.
Stretch denim, mesh, compression fabric, ripstop material, reinforced panels, and moisture-management textiles should not all look like flat surfaces.
Use side lighting for close-up photographs when you need to reveal weave, stitching, or surface texture. Light arriving at a slight angle creates small shadows that make material structure easier to see.
Even while editing, don’t let the fabric look oversharpened. Excessive clarity can make soft textiles seem rougher than they are. If there’s no dedicated editing team, consider hiring from the top e-commerce photo editing services.
5. Photograph Functional Details Separately
Small features can carry much of a garment’s practical value.
Instead of expecting customers to find them in full-body photographs, create dedicated detail shots.
Click the photo with pockets closed. Then open them and click again. Show zipper construction, reinforced seams, ventilation panels, adjustable closures, elastic sections, reflective details, and other relevant components.
Place the camera close enough that construction is visible without cropping out all context. A photograph showing only a zipper may be less useful than one showing where that zipper sits on the garment.
6. Demonstrate Stretch Without Exaggerating It
Demonstrate apparel stretch mostly in movement photos. But ensure the photos and the stretch look realistic.
Photograph the model bending, squatting, reaching, or stepping according to the garment’s intended use.
The goal is to demonstrate mobility rather than create an extreme pose that no customer would normally perform.
Use similar framing for neutral and movement shots. This allows viewers to compare how the garment changes under tension.
If there are folds in movement photos, keep them instead of editing them out. Natural fabric creasing helps communicate how the material behaves.
INTERESTING STAT
Clothing accounts for 25% of online product returns, making apparel the most-returned ecommerce category globally.
7. Make Pocket Design Easy to Understand
Pocket functionality is especially important in workwear and tactical apparel.
Products such as tactical jeans may incorporate deeper or additional storage areas alongside stretch and reinforced construction, so photography should make the layout understandable rather than relying entirely on written specifications.
After the usual front and back photos, get the shots of each pocket from up close.
Where appropriate, show a common non-sensitive item such as a phone, notebook, pen, or work accessory partially inserted to establish scale. No need to overload every pocket simply to demonstrate capacity.
8. Use Models Who Match the Intended Activity
Functional clothing photographs become more convincing when the model’s environment and actions make sense.
Try shooting for an athlectic apparel with: i) an athlete and ii) the particular sport environment. Workwear may benefit from standing, walking, kneeling, reaching, or carrying ordinary job-related equipment.
Keep movement controlled enough that the product remains visible.
Lifestyle photographs can establish context, but they should supplement rather than replace technical product images.
A fine dramatic photo isn’t enough if it doesn’t reveal much about the construction or fit.
9. Control Color Across the Entire Image Set
Color accuracy matters when customers are choosing uniforms or clothing online.
Set a custom white balance or use a neutral reference target during the shoot. Avoid allowing automatic white balance to change between frames.
Keep monitor calibration and editing conditions consistent during post-production.
Check color around:
- Primary material
- Contrasting panels
- Logos
- Printed graphics
- Embroidery
- Hardware
- Reflective fabrics
If several colors are available, photograph them under identical lighting. Customers should not have to determine whether a shade difference comes from the product or the photography.
10. Keep Retouching Technically Honest
Editing should improve presentation without changing the product.
Stick to erasing just:
- Temporary dust
- Loose fibers
- Sensor spots
- Background distractions
Correct exposure and white balance where necessary.
Visuals Clipping recommends maintaining natural colors and using retouching deliberately rather than over-editing product images.
Do not reshape the garment to create an artificial fit or remove permanent seams and fabric characteristics. Heavy retouching can produce attractive images that no longer represent what the customer will receive.
Build Every Image Around a Buyer Question
Marketing photography should clear customer doubts.
What does the garment look like from behind? How deep are the pockets? How does the material move? Where are the reinforced sections? What happens when the wearer bends or reaches?
Plan the shoot around those questions instead of producing dozens of nearly identical poses.
A clean and complete product gallery includes:
- Catalog images
- Close-ups
- Movement photographs
- A limited number of contextual lifestyle shots
When each image has a clear job, buyers get a more accurate understanding of the garment before they purchase it.
FAQs
Q1. What is functional apparel photography?
Ans: Functional apparel photography is the process of photographing clothing in ways that communicate both its appearance and practical features.
Q2. What photos should be included for functional apparel?
Ans: A strong product gallery should generally include front, rear, side, and three-quarter views, along with close-ups of fabric and important construction details.
Q3. How do you photograph stretch clothing accurately?
Ans: Use realistic movements that reflect how the garment will actually be worn, such as bending, reaching, squatting, or walking.