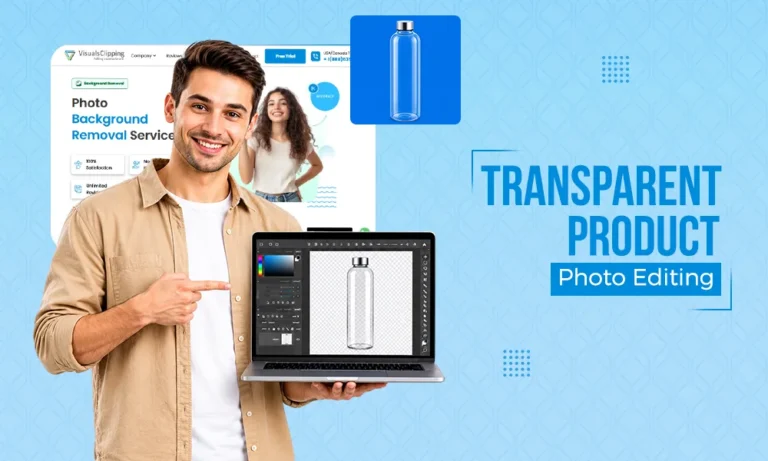
No matter how premium your product is, after attempting to remove the background of your transparent product, it will start to look cheap, like a plastic sticker. Transparent products are not the same as regular products. Hence, the regular background removal process does not suit them as they require more expertise. AI background removal can result in the disappearance of the edges of the product. Therefore, it is not reliable for transparent image background removal. Never treat reflections as imperfections, as they are what defines the transparent product’s texture and makes it look real and not just a flat, lifeless image.
The Most Common Transparent Product Types in E-commerce
Let’s first understand which products fall under the category. One thing you need to understand is that every single one of them comes with slightly different challenges.
- Glassware: wine glasses, vases, candle holders, and drinking glasses
- Bottles: perfume bottles, beverage bottles, and cosmetic serum bottles
- Clear packaging: blister packs and cellophane wrapping
- Plastic containers: clear plastic jars and lids
- Acrylic products: display stands, acrylic frames, and lifestyle accessories
How to Shoot Transparent Products to Minimise Post-Processing Time
Setting up the shoot that will result in an outcome that might require less editing and cutting post-processing time is actually a smart idea. Here’s how you can do so:
- Use a backlit setup. Backlighting defines the edges of the glass.
- Avoid colored backgrounds to avoid contamination of the glass product.
- Applying the double background technique means shooting on both a white and a black background.
- Handle the product with cotton gloves to avoid leaving impressions of your fingerprints on the glass.
The Pen Tool Approach: Manual Clipping for Transparent Products
For transparent object photo retouching, manual clipping or the pen tool approach is preferred by most professionals. It takes more time and effort but gives you more precise results:
- Step one: Create the outer edge path. Zoom 100-200% and create a hard boundary path.
- Step two: Create the inner transparency path. Hollow sections and gaps need to be handled individually.
- Step three: Apply opacity masking. Reduce the opacity of the transparent interior zones to between 30-60%.
- Step four: Use the double background technique. Shoot on both white and black backgrounds. To preserve the glass tones and edges, blend them both.
Also Read: Multi-Path Clipping Techniques Guide
Why AI Background Removal Fails on Transparent Objects
AI background removal tools in Photoshop, such as Remove.bg, and the AI-powered background removal work by identifying pixels of the subject vs pixels of the background. In the case of transparent objects, pixels on the inside might look similar to the background. Therefore, the AI will fail to detect the product. Reflections could also create a similar issue. Also, the semi-transparent areas could be detected as solid regions, which will make the product look like solid plastic instead of glass. But all this confusion and mess can be solved with manual pen tool paths and a trained professional editor.
Managing Reflections and Highlights on Glass and Plastic
Never ever remove the reflections to make your transparent product picture look clean, as you will end up making it look artificial and flat. Reflections are the highlights that signal product quality and also define the shape and edges. Let us introduce you to the correct approach to handling reflections and highlights instead of completely eliminating them.
- If a hotspot seems very bright, it affects the detail. Use the Dodge and Burn tools with a low exposure setting for reduction.
- You do not want to mess up with edges. Do not touch the thin line edge reflection that defines the product’s shape.
- Control with dodge and burn. Dodge for brightening and burn for darkening. Use at 5-15%.
Placing Transparent Products on a White Background Without Looking Flat
Some e-commerce catalogue layouts demand a white background for product images. For transparent products, the white backgrounds are most technically challenging, as with no background reflection, it becomes harder to detect the transparent product’s edges. But you can do the following that can help with visuals:
- Add a subtle drop shadow with opacity between 15-30% for a natural effect.
- Add a mirror or reflection effect to add depth, along with following the platform guidelines.
- Use a very faint grey edge on the base with opacity 1/2% to enhance visibility of the bottom edge.
Editing Specific Transparent Product Categories
Perfume and fragrance bottle editing
Fragrance bottles are one of the most complex glass product photo editing subjects you run into on e-commerce. The outer path needs careful pen tool work all around every curve and every shoulder. Then come the metallic parts, such as caps, sprayers, and collars. They have to be masked separately from the glass body and handled like opaque objects, not like some reflections. And the internal liquid keeps adding its own color cast to the object, which is why you need to manage that with selective color correction, not with the global adjustments.
Skincare and cosmetic serum in clear packaging
Clear serum bottles and dropper bottles are also kinda tricky because of tinted oil or gel inside, which ends up giving a colored interior and affects the transparency of the outer glass. Edit the outer glass and the internal product like separate layers. The glass body needs opacity masking, and the serum part needs color correction so it seems natural, not washed or mismatched to the actual product. Also, dropper tips and pipettes are extremely fine, so they need careful pen tool work.
Glassware and beverage products
Wine glasses, tumblers, and beverage bottles with liquid inside pretty much always need the double background approach. The mix of liquid, glass, and air, all living inside one item, creates three separate transparency zones. And each one needs its own treatment. Also, don’t skip the meniscus, that curved edge where the liquid meets the inner glass wall, because that’s the exact spot where most automatic tools go completely wrong. If there’s condensation on the outside of a cold bottle, keep it, as it signals freshness and overall product quality.
Platform Requirements for Transparent Product Images: Amazon, Shopify & Etsy
Amazon requires a pure white background (RGB 255, 255, 255) where the product takes up at least 85 percent of the frame. If you’re using transparent products on white, you really need the drop shadow and mirror reflection treatment described above.
Shopify and direct-to-consumer stores are way more flexible, and they allow lifestyle backgrounds on all images. A colored or contextual background for a transparent product is actually an advantage because it allows the glass to pop and look premium.
Etsy, on the other hand, leans toward a premium styled vibe. Transparent glass products tend to do very well there when you photograph and edit them with lifestyle and aesthetic backgrounds. Such backgrounds reinforce the premium positioning Etsy shoppers expect.
Also Read: Marketplace Image Standards: Amazon, Shopify, Walmart & Etsy
Final Thoughts
Transparent and glass product photos require the most technicalities in e-commerce photo editing. Instead of scratching your head on how to edit clear product photos, outsource the service, as no matter how hard you try, this is something that requires a professional’s expertise. And that professional is Visuals Clipping for you.
Visuals Clipping does not believe in AI shortcuts, batch processing, or guesswork. We use Manual Pen Tool Clipping for all glass, bottle, and clear packaging products. Our transparent product photography editing always results in outcomes that communicate quality before the customer reads a single word. Every file is ready for e-commerce platforms.
Frequently Asked Questions
Q1: Can AI remove the background from glass products?
Ans: Actually, AI background removal tools struggle to remove the background from glass products. Sometimes they succeed, sometimes they don’t. And the results are also not that consistent and precise.
Q2: How do you edit a transparent background in Photoshop?
Ans: The process for how to edit clear product photos in Photoshop involves several steps, which we have already explained in the guide above. You can follow them. But the transparent object photo retouching is not a beginner-friendly task. So hiring a professional is recommended.
Q3. Why does my glass product look flat after editing?
Ans: It could be a result of aggressively removing reflections and highlights from the glass product.
Q4. What is the double background technique?
Ans: The double background technique involves capturing the same product with both a black and a white background, and everything else remains the same, including camera angle, lighting, and the product’s positioning. Then use the multiply blend mode in Photoshop for a natural-looking glass picture.
Q5. How much does transparent product editing cost?
Ans: The cost of transparent product photography editing varies depending on the complexity of the product and the level of detail required. Visuals Clipping charges prices based on the complexity of each image, even while working on batches, plus the batch discount is always there. You can submit an image for a free trial and see the accurate results yourself before trusting us with a full batch order.