In today’s dynamic digital marketplace, time is essential. It is particularly for growing e-commerce websites attempting to maintain their competitive edge. Editing product images can not be neglected, whether you are going to introduce a new product line or prepare a flash sale. The challenge? Quickly editing those product images without compromising quality.
Choosing the best camera for product photography is crucial before starting any editing, as it enables the capture of sharp, high-resolution images that reduce post-processing time.
In this guide, these actionable strategies can assist you in managing the edits of ecommerce product photography, even when you are on a tight deadline. We have everything you need, from gear to editing techniques.
Why Speed Matters in Ecommerce Product Photography
Visual content drives conversions. According to research, the high quality of images is capable of increasing the sales of products by 40 percent. But speed is just as critical.
Last-minute uploads, mismatched imagery, or overlooked platform specifications may affect launch dates and cause a decrease in customer confidence.
Fast Editing Matters Due To:
- Deadlines can be strict when it comes to launch
- Consistency increases the confidence of the buyer
- Improved images decrease the returns
- Different ecommerce platforms have different image guidelines
- Visibility is impacted by SEO (alt text and image size)
In a word, photo editing is a skill you need to learn to efficiently and speedily edit your photos, or even better, outsource it prudently.
Step One: Get the Right Photography Process
We should also prepare to be successful in the shoot before we jump into the editing. Good photography will save time in post-fixing problems.
Essential Photography Gear- Must Have:
- Manual setting DSLR or mirrorless camera
- Tripod to have consistent angles
- Even lighting- softbox or ring light.
- White backdrop or sweep
- Shadow controls, such as reflectors or diffusers
If you’re working with ecommerce photography studios, you will already have access to these tools. Otherwise, investing in a tiny home studio is a great choice.
What Type of Photography Should You Use?
These are influenced by the type of photography you take in terms of presentation and post-production work.
| Type of Photography | Best For | Editing Difficulty |
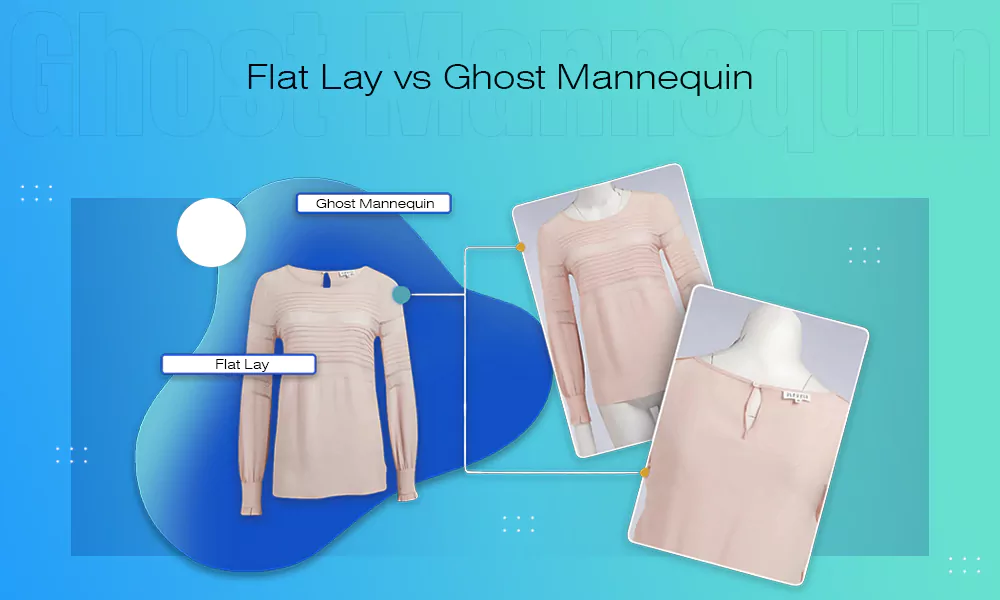
| Flat Lay | Apparel, accessories | Low |
| Mannequin or Model | Fashion, lifestyle | Medium–High |
| Ghost Mannequin | Professional clothing shots | High |
| Lifestyle | Contextual product shots | Medium |
| Close-up/Macro | Jewelry, textures | High |
Choosing the right type of photography in advance, you can simplify your work on editing afterward.
Plan Your Editing Process Before You Start
Following a process is the greatest approach to maintain efficiency. This is a straightforward and tested structure:
Editing Workflow:
Organize Images – Name and sort by product and angle.
Cull the Best Shots – Get rid of unusable pictures at the outset.
Normalize Settings – Exposure, contrast, and sharpening presets.
Do Batch Edits – Use Lightroom or other applications to do batch editing.
Touch up Key Images – Spend time touching up hero shots or primary product images.
Export With Correct Settings – Image optimization is important, so note the resolution and the format.
Select the Right Editing Tools
Selecting the appropriate software is fifty percent of the battle. Using the incorrect tools is a time-waster, whereas using the correct tools automates and streamlines.
| Tool | Best For | Why It Helps |
| Adobe Lightroom | Batch editing, color correction | Sync settings across multiple images |
| Photoshop | Retouching, clipping paths, shadows | Deep customization and advanced corrections |
| Canva Pro | Fast edits for marketing creatives | Templates and overlays save time |
| Remove.bg | Background removal | AI-powered auto-cutout for white backgrounds |
| Pixc / Fotor | Automated photo editing tools | Designed for ecommerce photo editing |
Image Optimization: Sizing & Dimensions
There is nothing that can bring a site down more than large, unoptimized images. One of the elements of rapid editing is optimizing image dimensions.
Best Practices:
- Web 72 DPI (300 DPI for print)
- Use platform-specific dimensions:
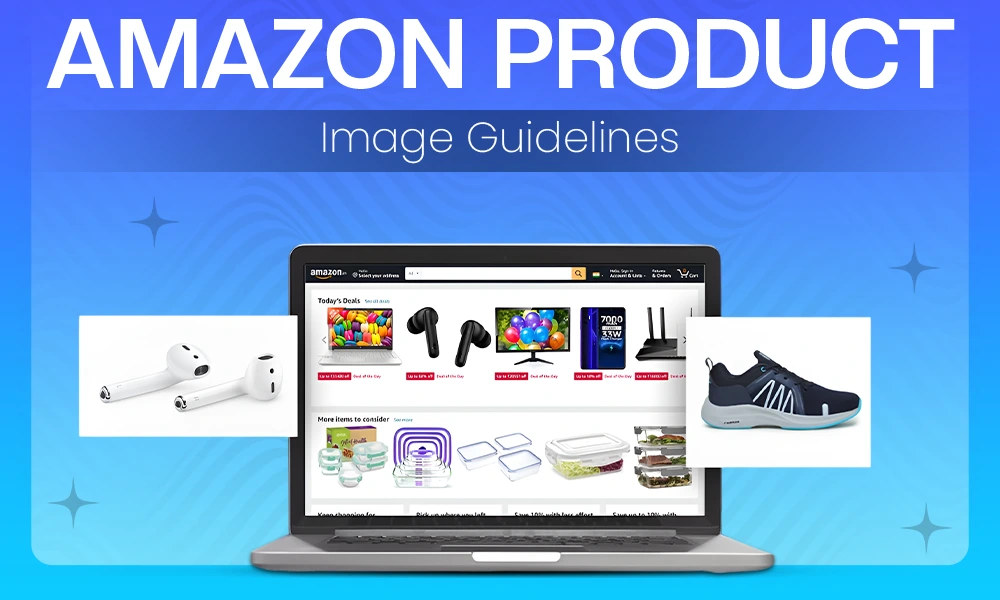
- Amazon: 1000×1000 px minimum
- Shopify: 2048×2048 px recommended
- Amazon: 1000×1000 px minimum
- Compress using tools with TinyPNG or ImageOptim
- Save as JPEG when it is a photo, PNG when there should be a transparent background
- Alt text should always be added with a description for SEO
By perfectly configuring image size and dimensions, you will decrease the time of load the page, and you will increase the user experience and rankings.
Time Saving Editing Techniques
Batch Process Basic Edits
- Make the same changes in hundreds of images using Lightroom.
Use Presets & Actions
- Record Photoshop actions (of repetitive tasks, such as sharpening or drop shadows.
- Exposure and tone Lightroom presets.
Clone & Copy Layers
- Use the adjustment layers again in similar product pictures.
Save Reusable Templates
- Save and re-use canvas dimensions, branding, and cropping profiles.
Match Edits to Ecommerce Platform Needs
Every platform comes with its image specifications. Do you want to post on Amazon, Etsy, or your site? In any case, your edits should correspond to their requirements.
| Platform | Requirements |
| Amazon | White background, 1000×1000 px minimum, no watermarks |
| Etsy | 2000 px width recommended, lifestyle images allowed |
| Shopify | High resolution, square images, and transparent backgrounds are optional. |
Familiarity with these specs ahead of time will result in trouble-free uploads and fewer rejections.
Should You Outsource or Not?
Outsourcing to a professional service such as Visuals Clipping could be your smartest move when you are short of time. They specialize in fast and high-quality ecommerce photos editing that involves:
Quick Checklist for Tight-Deadline Editing
| Task | Status |
| Shoot with correct lighting | ✅ |
| Organize and label folders | ✅ |
| Cull unusable images early | ✅ |
| Batch edit base corrections | ✅ |
| Optimize image size & format | ✅ |
| Export for each platform | ✅ |
| Add alt tags and filenames | ✅ |
The next time you have a product launch and you are under pressure, use this checklist.
Pro Tips Ecommerce Photography Studios
- Take pictures of products from a variety of angles to improve transparency and decrease returns.
- For genuineness, add shadows and reflections, particularly for shoes and everyday items.
- Clipping paths can assist in investing in background consistency.
- Alt text and metadata- Do not skip this, it enhances image search SEO.
- Always make backup files in a layered format to make changes in the future.
Professional studios have efficient workflow processes that can be replicated to give even an emerging ecommerce store a polished finish.
FAQ
What is the maximum speed of editing product photos?
Using batch processing and presets, 50 -100 photos can be edited in an hour. Outsourcing is time-saving when the edits are complex.
What is the easiest tool?
Lightroom is amazing when it comes to batch-editing; Canva is simple to use when doing simple product edits.
Am I allowed to use mobile apps?
Yes, mobile applications such as Lightroom Mobile or Snapseed are suitable only when making light edits, not when a professional result is needed.
What is the best image format in ecommerce?
JPEG ( ordinary product images ), PNG ( transparent backgrounds ), and WebP ( lossless high compression ).
Final Thoughts
When on a deadline, the trick is not to work slower but smarter. With a little planning of your shoot, the right gear, time-saving editing tools, and optimization to ecommerce platforms, you can save hours off your workflow without compromising quality.
And once you require additional help (or eyes), it is best to turn to the professionals, such as Visuals Clipping, so that your images remain clear, framed, and sellable in the twinkle of an eye.