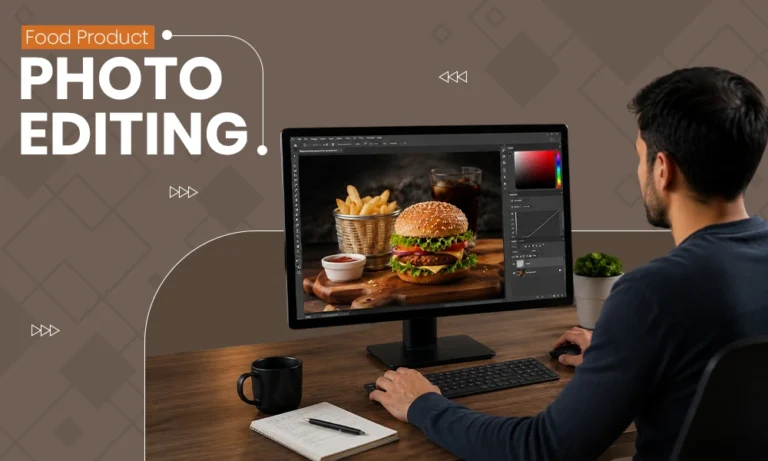
Have you ever seen any food image and felt like grabbing the food through the photo and eating it? That’s the magic of editing. With editing, you can easily compel people to drool over your food product. When it comes to food, people react emotionally rather than logically, which is why food image editing service is different from editing a pair of shoes or a laptop. Your food product photo may not look that appealing to the customers without editing. Editors enhance the warmth of the colors and visibility of the texture with professional photo retouching to signal the viewer’s mind that what they’re looking at is not just trustworthy but also delicious and fresh.
Essential Tools for Editing Food Product Photos
Here is a quick overview of the most commonly used food photo editing tools:
| Tool | Price | Best For | Platform |
| Adobe Lightroom | $10/month | Batch editing, warmth control | Desktop + Mobile |
| Adobe Photoshop | $22/month | Retouching, background removal | Desktop |
| Capture One | $24/month | color accuracy | Desktop |
| Snapseed | Free | Quick edits, selective adjustments | Mobile |
| VSCO | Free / $30/year | Aesthetic presets, social media edits | Mobile |
- Adobe Lightroom: It provides batch editing warmth control features that are required when you’re working on multiple images of the same shoot of food products.
- Adobe Photoshop: Comes to help when food products like samosas and croissants with irregular shapes need background removal for looking clean and presentable.
- Capture One: Could be a game changer when color grading is the priority, which should be in the case of food product photo editing for e-commerce.
- Snapseed and VSCO: Snapseed provides selective adjustment tools, while VSCO gives you consistent presets. Both can be operated on mobile.
Also Read: Mobile Product Photography for Ecommerce
Step 1: Getting Exposure and White Balance Right First
This step is actually the foundation. One major thing you need to understand is that it totally depends on the exposure how dark and bright your image appears. For food product photo editing for e-commerce platforms, only slightly bright photographs are used. The next thing you need to take care of is white balance, where most beginners fail. For different food products, there are different white balances you need to go with – around 5000–5500K for warm food, and around 4500–5000K for cold ones.
Step 2: Color Correction for Food: Making It Look Real, Not Artificial
Actually, a slight adjustment in colors and tones can make your food image seem more delicious than reality. The HSL panel in Lightroom can be used for color correction. With this food photography retouching technique, you get full control of the color tones. The HSL panel includes specific color ranges, such as: Reds for strawberries and tomatoes. Greens for avocado. Browns for pastries and roasted meats. The beginners usually fall into the over-saturation trap by pushing it up to cover dullness, but end up looking fake.
Step 3: Enhancing Texture and Detail in Food Photography
Fine-textured food images make you hungry just by looking at them. Now, one thing most beginners misunderstand is that clarity and texture sliders give the same results. But it’s not true. Clarity adds contrast in the midtones, whereas the texture slider enhances the fine surface details. Food product photo editing for e-commerce required some specific directions. For sauces and other creamy foods, keep the texture low and the clarity at negative. For bread crust and other crispy food items, increase both a little.
Step 4: Background Removal and Replacement for Food Product Images
Most e-commerce platforms demand a standardized white background, including Amazon and Shopify. Whereas the lifestyle backgrounds fit more for social media platforms and brand campaigns. For background removal, professionals go with the two most preferred techniques. AI background removal tools for clean, simple-shaped food items. And, the Pen Tool in Photoshop for complex & irregularly shaped food items. The real challenge is removing the background of images with irregular edges of herbs, sauces, noodles, etc.
Step 5: Shadow and Reflection Techniques for Food Depth
Removing all shadows from your food product photograph will make it look lifeless and fake, which we do not want. You need to understand the concept of shadows to get an idea about its importance in food product photo editing. Natural shadows should never be removed and should be properly taken care of while removing backgrounds. Drop shadows are added in Photoshop when the original background is replaced with a white & clear background. One more thing that makes your food and brand appear premium is the reflection on glass or glossy surfaces.
Also Read: Drop Shadow vs Natural Shadow Service
Common Food Photo Editing Mistakes to Avoid
- Over-sharpening: The texture of the food starts to appear grainy and gritty.
- Over-saturating colors: Makes the food look artificial and full of fake colors.
- Removing all shadows: Makes the product look weightless with a flat background.
- Applying a cool or blue tone to warm foods: Food looks unappetizing and stale.
Editing Food Photos for Specific Platforms: Amazon, Etsy, Instagram, DTC Stores
Learn how to retouch food photos for online stores:
| Platform | Background | Props |
| Amazon | Pure white | Not allowed on hero image |
| Etsy | White or lifestyle both accepted | Welcomed and encouraged |
| Brand-led, flexible | Essential to storytelling | |
| DTC Store | Matches the brand color palette | Context-driven |
Final Thoughts
DIY editing makes sense when you’re working with a small number of images or for social media. Use Lightroom for simple editing and background removal if working for less than 20 images. For a catalogue shoot or launch campaigns where consistency and fine details matter the most, you should outsource the food image editing service to a professional. Outsourcing is also recommended when you are unable to match the market-level editing skills.
No need to stress about whom to outsource your food product photo editing. Our ecommerce photo editing services handle food image editing from background removal to platform-ready delivery.
Frequently Asked Questions
Q1. What is the best software for food photography editing?
Ans: We have already told you the features of multiple food photography editing tools. You can select any according to your requirements. Most professionals use Lightroom and Photoshop together for better outcomes.
Q2. How do I make food photos look professional?
Ans: Follow the above guide, and your food images will look not just professional but also appetising. You can also contact us for the food image editing service to make your work easier.
Q3. How do I remove the background from food photos?
Ans: Different techniques are used for different food products. For packaged and clean-edge food items, use AI background removal tools. For items with irregular shapes and edges, use Photoshop.
Q4. Should food product photos have white backgrounds?
Ans: It actually depends on where you will be using that photo. For most e-commerce platforms, white backgrounds are preferred. For Etsy, Instagram, and DTC brand content, lifestyle images with contextual backgrounds often perform better.
Q5. How much does food photo editing cost?
Ans: Food photo editing typically starts from $0.25–$0.50 per image for simple background removal, up to $2–$5 for complex retouching with shadow work. For a precise quote based on your volume, contact us.