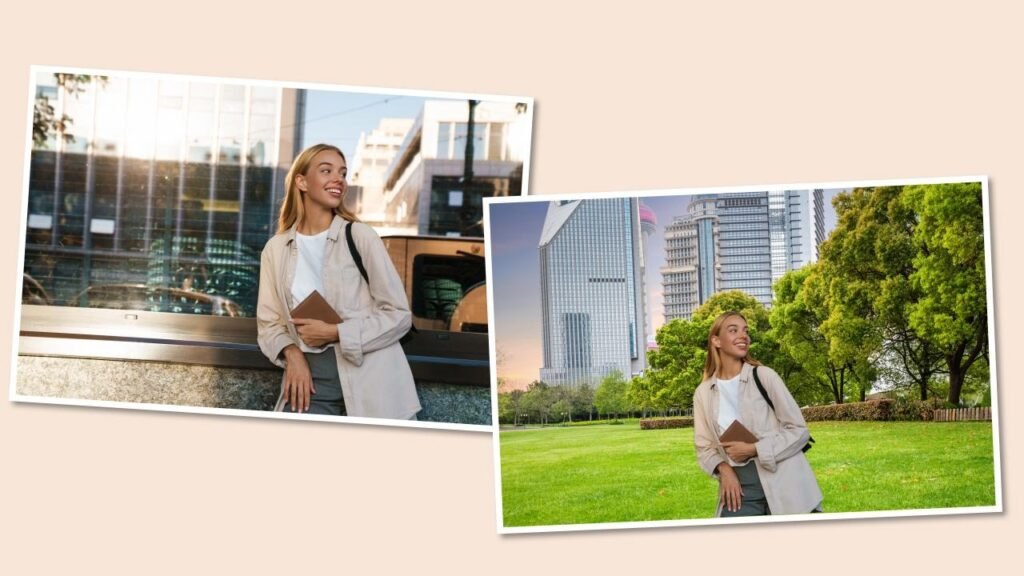
A well-thought-out before-and-after edit can share exactly what a photo editor is actually capable of. But when the same thing is converted into a short video that shares each aspect with transitions added to it, it becomes more engaging.
You must think now – this must be time taking. Yes, it is. But with an auto slideshow maker, most of the timelines and transitions can be managed easily, while just putting main focus on capturing great photos.
Sounds great, right? Keep reading to learn how to create an impressive video that shares your portfolio.

Why Before-and-After Work Even Matters
Think about the most recent time you hired anyone for anything visual. A roofing professional, a landscaper, or someone to redo your kitchen cabinets. You glanced at their before-and-after pics first, right? Everyone does. It’s proof, plain and transparent. Not a promise, not a sales pitch. Just here’s what it sounded like, and here’s what I did to it.
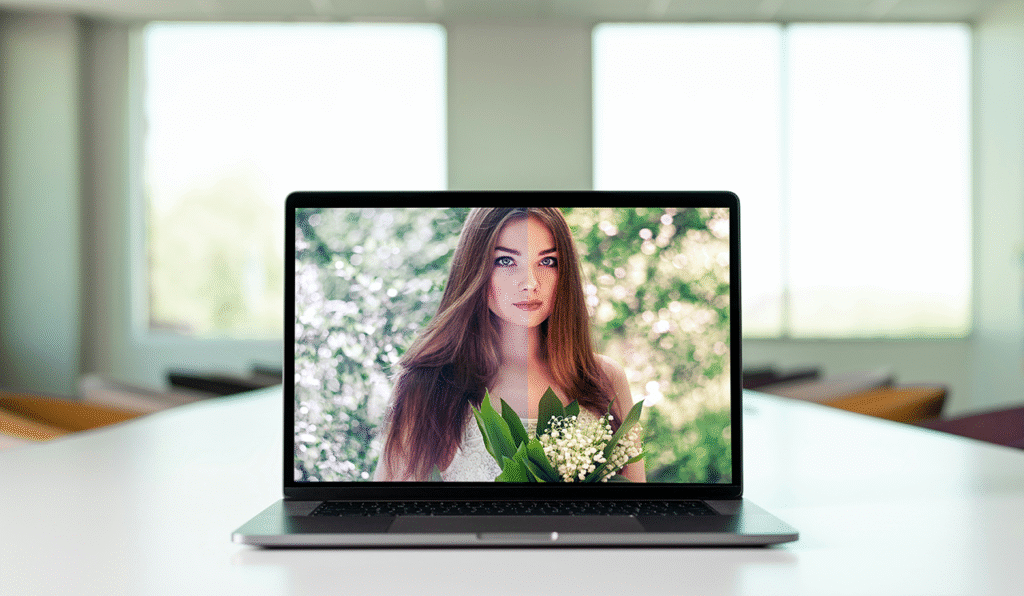
The editing process works the same way. Most clients have no thoughts about what “dodge and burn” means, and in fact they don’t need to. But put a flat, grey photo next to the version you punched up, and they get it just as quickly. No explanation is needed. Their eyes do the work.
This is also why this genre of content does so well online. People scroll fast, specially on phones. A wall of text won’t wear anyone down. A massive transformation will. That’s the stuff that gets saved, sent to a familiar individual and screenshotted.

So Why Is Video Actually Better?
Here’s where a lot of photographers get it incorrectly. They think a successful before-and-after photo is the finish line. It’s not. The video takes the same motif and makes it hit harder, for a few valid reasons.
For one, video creates suspense. A split image gives you both halves at once, no ambiguity there. But in a video, you control the show. Hold on to the before image a second longer than feels pleasant, let it sit, then cut to the after. That small interruption does something psychological. People slow down in a bit.
It also shows your process, not just your final product. Toss in a tiny screen recording of yourself adjusting exposure or masking out a scene. It doesn’t need to be long; five seconds is ample. It proves real work was performed here, not just a one-click filter.
And honestly, video just moves better online. Reels, TikTok, Shorts, whatever site you’re on—the algorithms are pushing video right now, not standard posts. If you’re attempting to grow a portfolio and actually get eyes on it, struggling that trend with photo posts by themselves is an uphill battle.
Then there’s sound, which people forget constantly. A quiet little track under your shift clip changes the whole feel of it. Makes the declaration feel earned somehow. Try getting that same sensation from a still image. You can’t, not precisely.
How to Actually Build One of These
You don’t demand a film degree for this. Here’s roughly how I’d accomplish it, and it’s worked fine for lots of people who aren’t video editors by trade.
Pick your best moves first. Not all of them, just the leading five or ten. A portrait retouch, a landscape color grade, maybe a finalized shot cleanup. Mix it up so the video doesn’t feel monotonous.
Make sure your images are high in quality before you start. Nothing ruins the effect faster than a jagged or pixelated before shot. It just looks sloppy, even if the edit itself was incredible.
Pacing matters more than people know. Hold the before pictures for around two seconds, add a quick transition, then permit the after image to expire for three seconds or so. Enough time to notice the distinction, not so much that it drags.
Keep transitions straight-forward. A fade or a wipe does the job. Fancy 3D spins and interruption effects tend to distract from the actual work you’re riffing off, which is kind of the whole deal.
Music should fit your editing style. Punchy and colorful work produces an upbeat track. Moody, cinematic edits want something slower and more audible. And if you’re insecure about copyright, there are loads of royalty-free tracks out there made precisely for this kind of content.
Add text if it helps, but make it short. “Color correction,” “background cleanup,” stuff like that. Not everyone attending knows editing terms, and a quick label clears any confusion.
Where This Actually Gets You Seen
Once it’s done, don’t just leave it sit on your desktop all day. Highlight it on your portfolio site as a featured piece. Post it to Instagram and TikTok, since the modified content does fairly well in both places. Leave it on YouTube if you’ve got a channel. Send it directly to a potential client if you’re pitching work; it demonstrates more than a paragraph of your resume ever could.
If you’re freelancing and looking for new clients, this kind of video quickly becomes a silent pitch. It clarifies what you can do without you being forced to explain a thing.
Also, explore the best real estate photo editing services in the US for 2026.
Wrapping Up
In the end, a strong before-and-after edit can share accurately what a photo editor can serve to a business or client. A simple and effective showcase allows one to control the sharing, highlight the complete editing process, add required context and create content that actually works for different platforms.
It does not ask for major effects or professional filmmaking tools to make it work. Prefer to start with some of the most effective edits, keep things clean and choose engaging music.
FAQs
Q1. Why are before-and-after edits effective for a photo editing portfolio?
Ans: They serve a clear visual comparison that allows major clients to see the difference your editing skills can make.
Q2. Why turn before-and-after photos into a video?
Ans: Video allows you to control the reveal, show editing skills, add some good sound and create a more engaging presentation.
Q3. Where can I use a before-and-after portfolio video?
Ans: You can add it to your portfolio website, social media platforms, YouTube or share it directly with your clients.