Bad images of furniture can cause more than just bad visuals; they can also lead to increased product returns and negatively impact conversions. When an online buyer cannot assess size, texture, and the actual appearance of furniture, this creates uncertainty, leading to hesitation when it comes to purchasing.
Taking pictures of large items made out of multiple materials (for example, wood, fabric) and displaying them at scale through a screen makes furniture photography challenging. This article will help you learn how to take, style, and optimize images of furniture to promote sales, increase buyer confidence, and limit product returns.
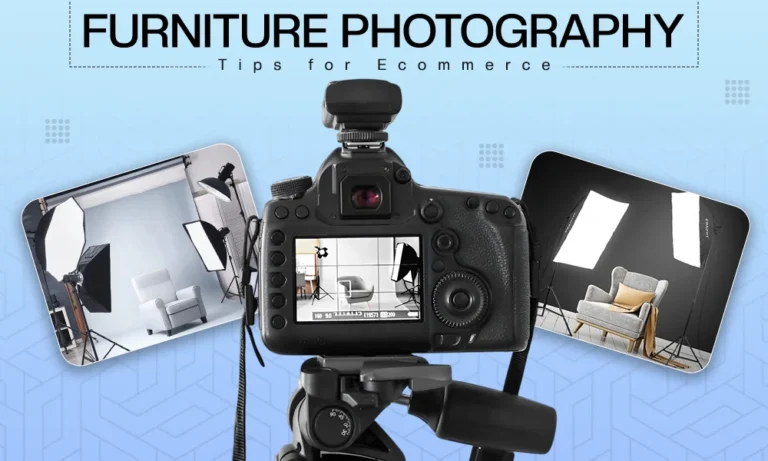
Why Furniture Photography Is Different from Regular Product Photography
Photographing furniture has unique difficulties compared with photographing other types of products. Furniture is typically much larger than most other types of products so it can be quite heavy and harder to move.
Furthermore, many pieces of furniture are made up of numerous different materials that also affect how the product reflects light. Additionally, furniture photography requires showing the product within appropriate context.
As an example, while a chair sitting on a plain white background may fulfil the requirements for listing an item online, customers will most likely want to see that same chair in a real room and ideally in a room that is similar to theirs.
Also Read: White Background for Product Photography
Equipment You Need for Furniture Photography
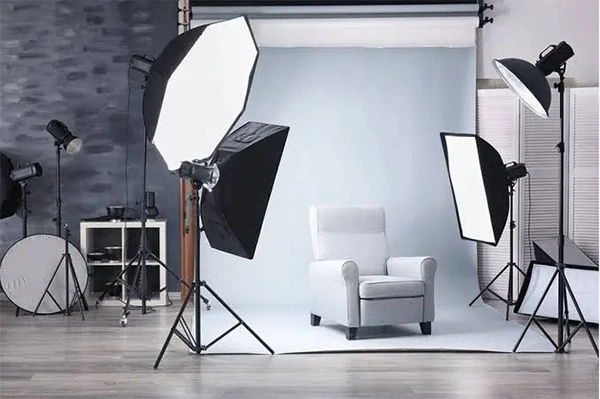
There are some specific equipment you’ll be needing for furniture photography this includes:
Camera and Lens Recommendations
Recommended camera and lens setups:
- Wide-angle lenses (24-35mm) are useful for photographing entire setups, without the need to step away from them.
- Standard and short telephoto lenses (50-85 mm) are ideal for detail shots (textures, stitching, finishes, etc.) and will maintain accurate proportions.
- Ultra-wide-angle lenses should not be used; they will distort the look of furniture (you will end up with curved sofas or narrow tables) and can mislead buyers; ultimately leading to returns.
Also Read: Parts of Camera
Lighting Setup for Large Furniture Pieces
Lighting setup plays a major role and here’s why:
- Use daylight because it will create good lifestyle photos. If you use daylight, take the photographs in the morning or afternoon, so there are no strong shadows.
- Use continuous LED panels instead of using flash when photographing large pieces of furniture. You can see how the light will fall before pressing the shutter release button.
- Use bounce boards or reflectors when filling the shadow areas under furniture like beds or tables.
- The white walls and ceilings in your space will diffuse light naturally, this is an inexpensive but effective method to achieve soft diffused lighting.
Tripod and Shooting Space Requirements
Tripods help create stability for your camera while creating images in environments that are weak in light. Having a tripod also allows you to keep a consistent angle for all of your products, which is very important to the e-commerce branding of your company.
You will also need enough space around you to allow you to stand back and frame the furniture properly for photographing. Working in small spaces will force you into positions that will cause distortion and negative angles for your photos. It’s helpful to plan out where the location will be before receiving your inventory.
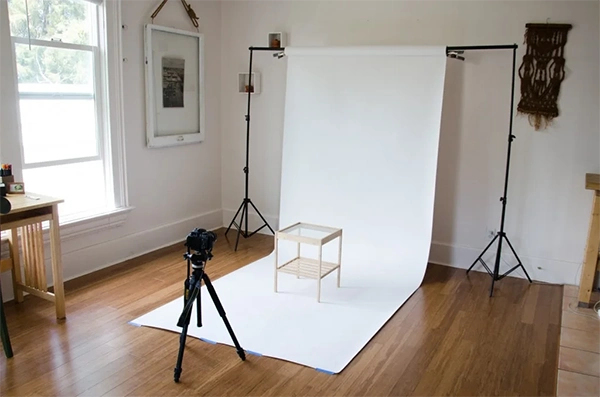
Setting Up Your Furniture Photography Space
Space where the session is going to take place is important. These are the things you need to keep in mind:
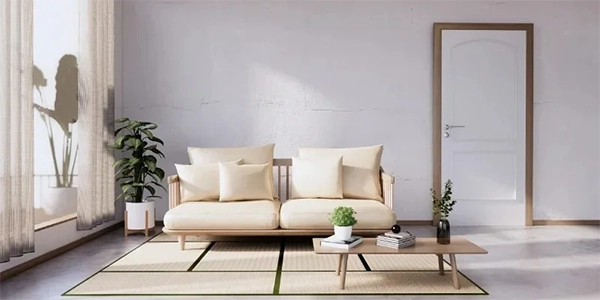
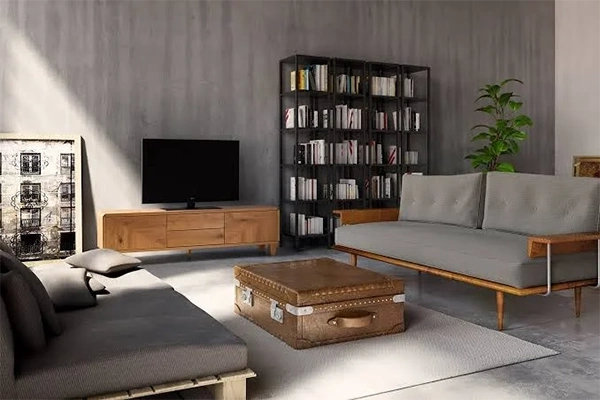
Choosing the Right Background for Furniture
Right background makes a lot of difference this is because:
- A smooth white backdrop: The best solution for eCommerce or marketplace item listings where a clear image must be presented.
- A styled room: The preferred look for lifestyle images (the addition of lifestyle images increases emotional connection and perceived product quality).
- Plain wall and wood floor combination: A great way to keep your costs down and still have a professional-looking background.
- An outdoor location: Ideal when photographing garden furniture, where using natural textures, such as grass or stone, will assist with the realistic look of the product.
Prepping the Furniture Before the Shoot
You need to prepare your furniture before the shoot and do this:
- Take off any stickers, tags and coverings/films from the products.
- Clean the wood surfaces, as dust will show up on lighted surfaces.
- Steam or press any fabric to get creases out. Ensure that all screws and joints are secure to keep anything from tilting.
- Make sure that everything is aligned proportionally and symmetrically prior to the shot.
The way you prepare your product will have a direct effect on how premium it appears to be.
Essential Furniture Photography Techniques
You should be aware of these furniture photography techniques for the best results:
Angles That Sell: Which Shots You Must Include
- Hero perspective from 45° angle, displays depth & dimension, your main thumbnail.
- The front view shows a clean, informational view compared to others, side profile view shows architecture, legs, and depth.
- Overhead shots are good for tables, rugs, and low furniture.
- Detail/texture shot to highlight stitching, wood grain, or joint construction.
Dealing with Reflective and Glossy Furniture Surfaces
If you’re not careful, reflective surfaces such as glass, lacquer, and chrome can ruin your shot. Here are some tips for avoiding reflection during filming:
- Angle the lights instead of putting them straight overhead.
- Use a polarizing filter to cut down on reflections.
- When using an anti-reflective spray, be careful to use only what you need, and fix any excess in post-production.
- Use a piece of black foam board to block out reflections from the camera or anything else in your location.
Focusing on controlling reflection will help to ensure that you maintain a professional appearance in your photography.
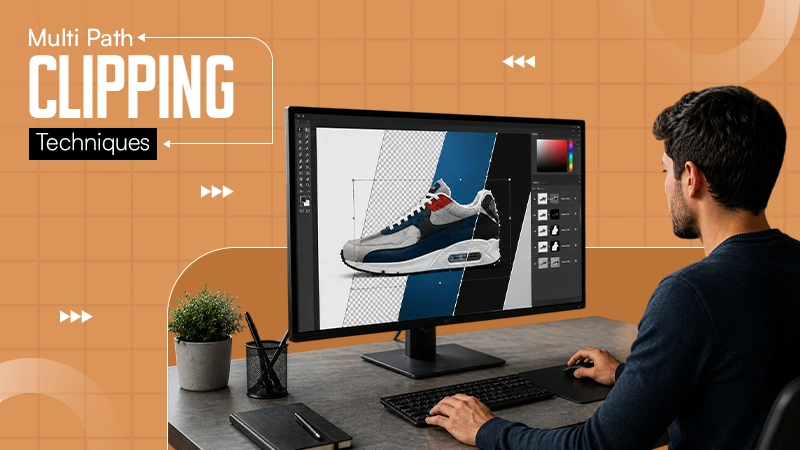
Post-Processing Furniture Photos for Ecommerce
Raw furniture photos can hardly be Amazon or Wayfair ready, even with the best lighting and camera equipment. The magic is created in post-production.However, it may take hours to edit such complicated materials as woven-rattan chairs or glass tables. Professional services such as Visuals Clipping, make sure that there is consistency, accuracy and platform optimization on large product catalogs.
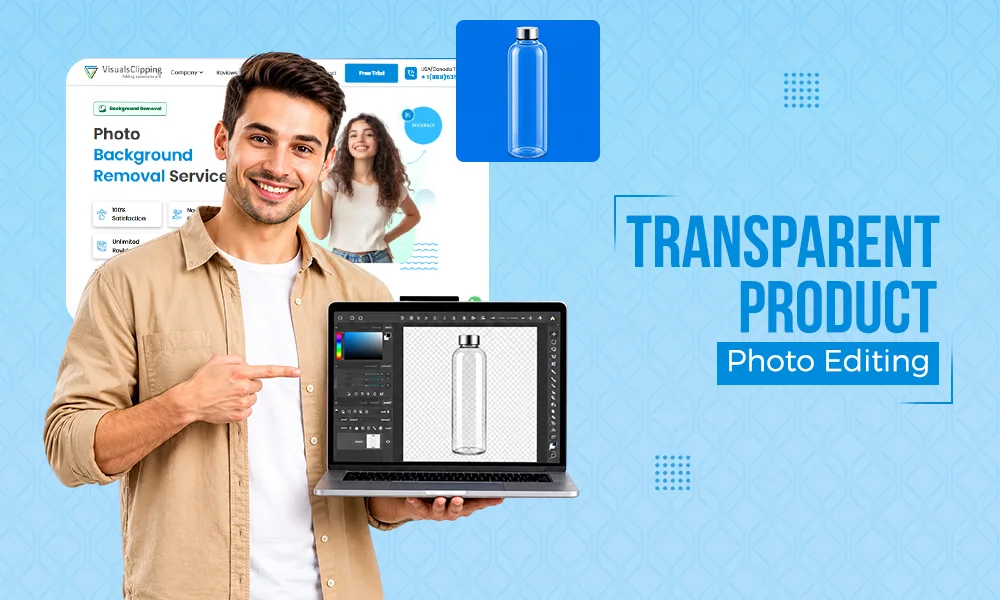
Background Removal and Replacement for Furniture Images
Amazon and other marketplaces demand product images to be taken on plain white backgrounds. On the other hand, D2C and branding-based websites benefit from lifestyle-based photography.
You can do this by using a process to separate the subject from its background and create multiple versions of the same image for each individual platform.
Color Accuracy: Matching What the Customer Sees Online to What Arrives
A large factor causing returns is color discrepancy between what customers see on the web and what they receive. To minimize returns, make sure:
- The product has a proper white balance
- Color grading is accurate
- Lighting is consistent across product variations
When preparing to publish images, always check that edited images look like the element itself before publishing.
Adding Natural Shadows to Create Depth
Creating the illusion of depth by using natural shadow layers adds realism in photographs of flat objects.
Small amounts of shadow will serve to ground the object and also enhance the overall realism of the photograph. Avoid dramatic shadows by using subtle, soft shadows to allow them to appear natural.
Editing Furniture Photos for Multiple Platforms at Once
Each platform has its own image size and format requirements:
- Amazon: 2000px x 2000px
- Wayfair: minimum 1000px x 1000px
- Catalog images (IKEA example): high-resolution print-ready
- Instagram: either 1080px x 1080px or 1080px x 1350px
When you complete edits to the photo, export the finished images to all the required sizes to help maintain consistency and speed up processing time.
Furniture Photography for Specific Platforms
Each platform has a set requirements for furniture photography. For example:
Amazon Furniture Photography Requirements
For amazon you need to follow:
- The main photo must have an all white background.
- The main photo must not contain props.
- Must have a high resolution to allow for close-up viewing.
Must comply strictly with these requirements to avoid problems with your listing.
Also Read: Amazon Product Image Guidelines
Wayfair and Houzz: What These Platforms Expect
- There is a balance of product pictures and lifestyle pictures, both are required.
- You need clear visibility and a real life context.
- You also need to keep props to a minimum but ensure they highlight the product being sold through their design.
Instagram and Pinterest: The Lifestyle Shot Strategy
Focus on storytelling:
- Use styled interiors
- Shoot in vertical formats
- Highlight mood, not just the product
- These platforms drive engagement, not just conversions.
Common Furniture Photography Mistakes to Avoid
Furnishing photography has room for mistakes, which if not noticed early enough can harm your sales. Your products may have good design but will be unattractive if not produced properly
- Wrong lens choice: Distorts the “real” visual representation of the furniture as it does not accurately display its intended material or color; therefore, giving the buyer false visual representations skewed in size and shape
- Poor lighting: Results in apparent incorrect color representation and color will be inaccurate when taken at “normal” light time. This is particularly true for wood and fabric finishes
- Not provided with a scale reference: Leaves the buyer guessing as to what the sizes truly are
- Over-stylised shots: Detract from the product; therefore, the buyer cannot see or appreciate the product.
- Editing inconsistency: Creates an unprofessional catalogue that appears out of place.
Avoiding the above issues maintains product trust, increases conversion and reduces expensive returns.
Frequently Asked Questions
What is the best lens for furniture photography?
Ans: A 50-85mm lens is best for accuracy and detail, while 24-35mm works for room and lifestyle shots.
How do I photograph furniture to show accurate color?
Ans: Use consistent lighting, correct white balance, and minimal color grading. Always compare with the real product.
How many photos do I need per furniture product?
Ans: Ideally 5-8 images: hero, front, side, detail, lifestyle, and scale reference shots.
Should furniture be photographed on white or in a room setting?
Ans: Both. Use white for marketplaces and lifestyle settings for branding and engagement.